Using Stable Diffusion to Create T-shirt Designs and Variations
This post continues from our previous blog about t-shirt design, focusing on the exploration and discussion of newer workflows for creating t-shirt designs.

Remember when we talked about making cool t-shirt designs using Stable Diffusion? Well, we're back with more awesome tips! This time, we're going to show you two super ways to level up the t-shirt design using stable diffusion models.
First off, let's talk about SDXL inpaint model. It's like having a magic brush in your hand. Imagine you have a t-shirt design, but you think, "What if I change this pattern?" That's where SDXL inpainting comes in. It lets you change parts of your design in a snap. Whether you want to switch graphics, or just add a little extra flair, it's all super easy and super fun with SDXL inpainting.
We're also going to explore another innovative model called the IP-adapter Depth XL. Now, this is where it gets really exciting. This model is like your creative sidekick. It helps you take bits and pieces from other images – maybe a splash of color from a sunset photo or a cool pattern from a picture of a graffiti wall – and blend them into your t-shirt design. You end up with a unique design drawing inspiration from the reference image.
In this blog post, we will explore these two models extensively focusing on their application in the creation of t-shirt designs. Our exploration will cover the step-by-step workflow of each model, highlighting how they can be utilized to produce unique and compelling results.
Using Inpainting for T-shirt Design
Inpainting allows making changes to certain parts of a picture. You use a mask to show which parts of the picture you want to change. The parts you want to fix are marked with white pixels, and the parts you want to keep the same are marked with black pixels. Then, the model looks at the white parts and changes them according to your instructions.
Inpainting transforms images through a concise, four-step process: The process starts with an input image, which acts as the base for modifications. Then, a mask is used to pinpoint the areas that need to be changed. Following this, a text prompt directs the inpainting model, outlining the required alterations. The model takes in these inputs and generates an output image that accurately incorporates the changes specified by the mask and text prompt, integrating the new aspects flawlessly with the original image.
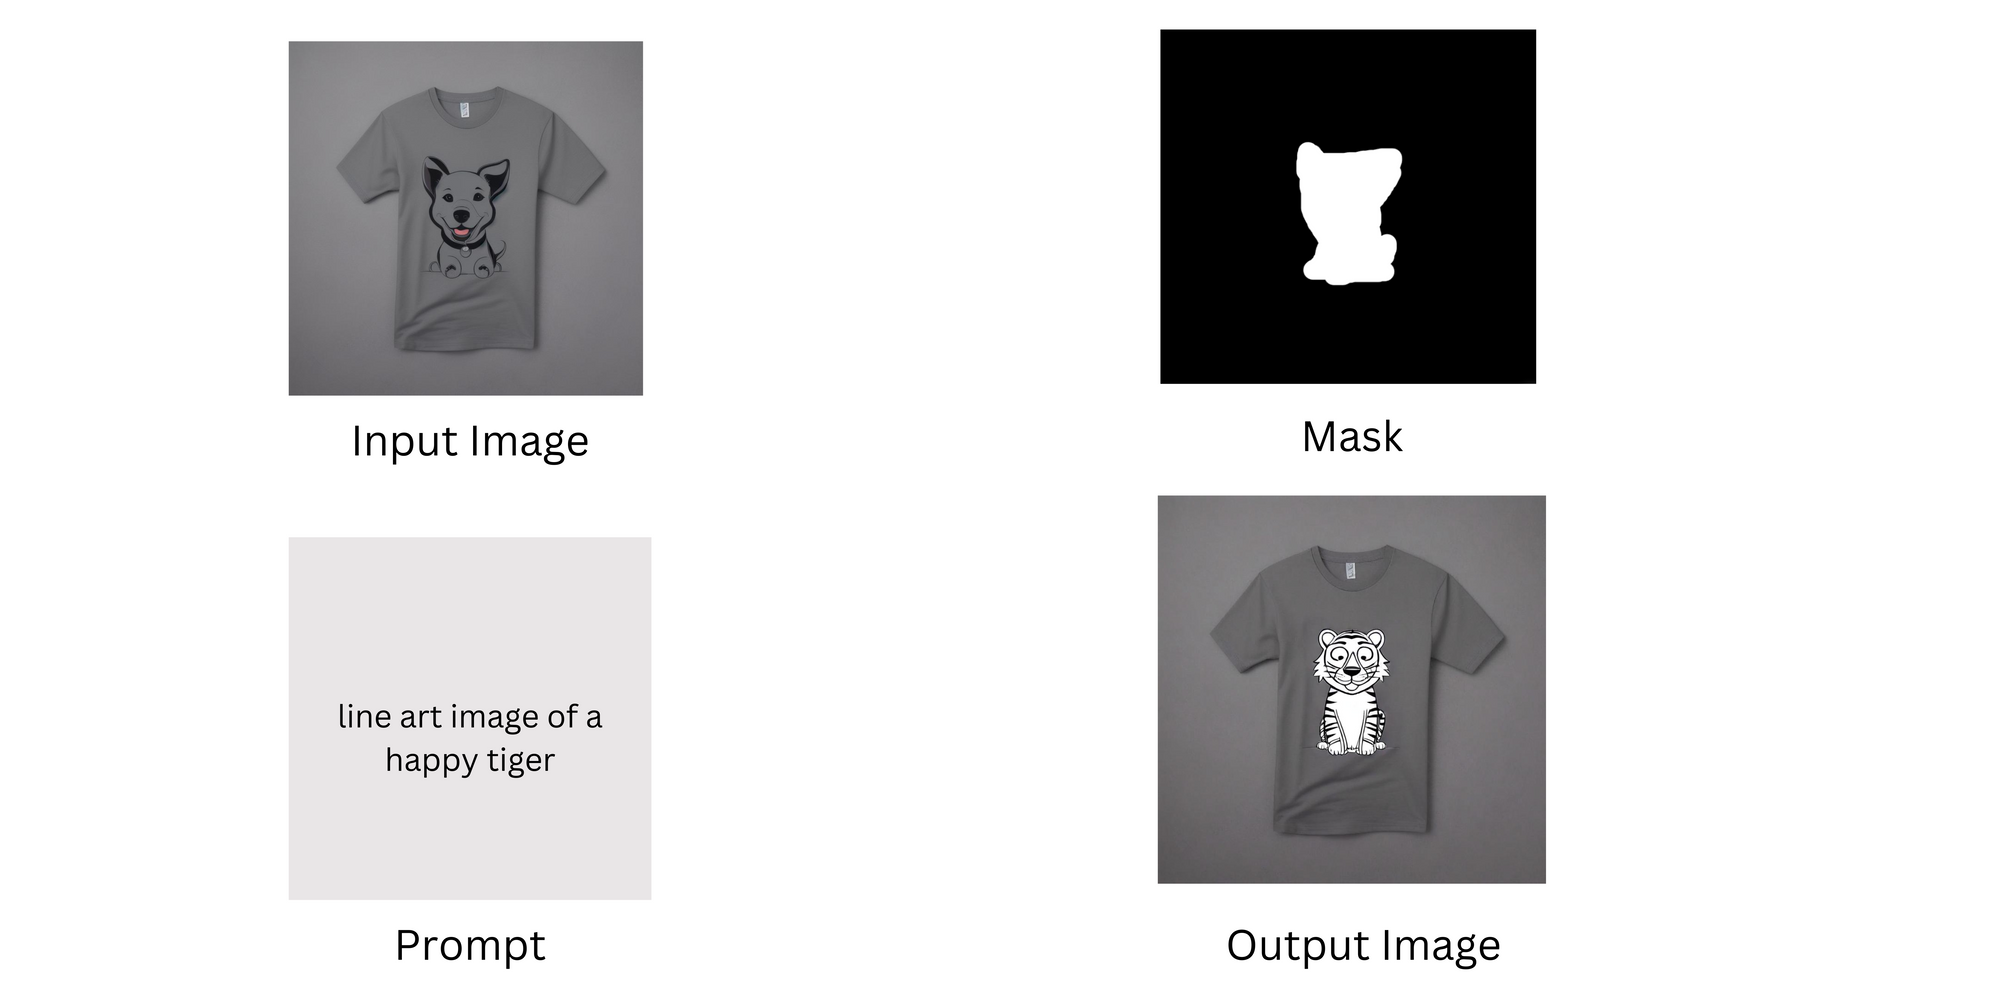
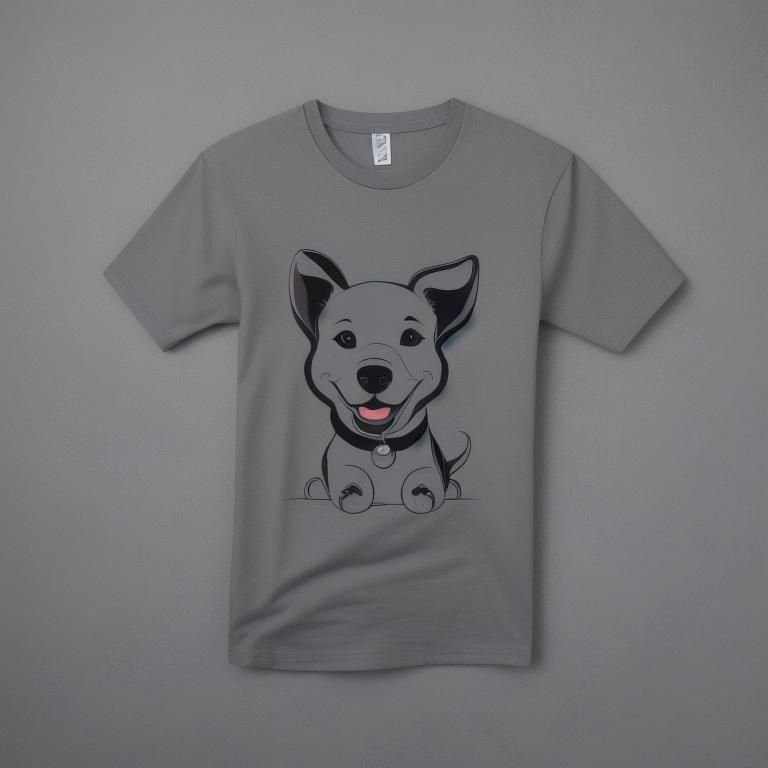
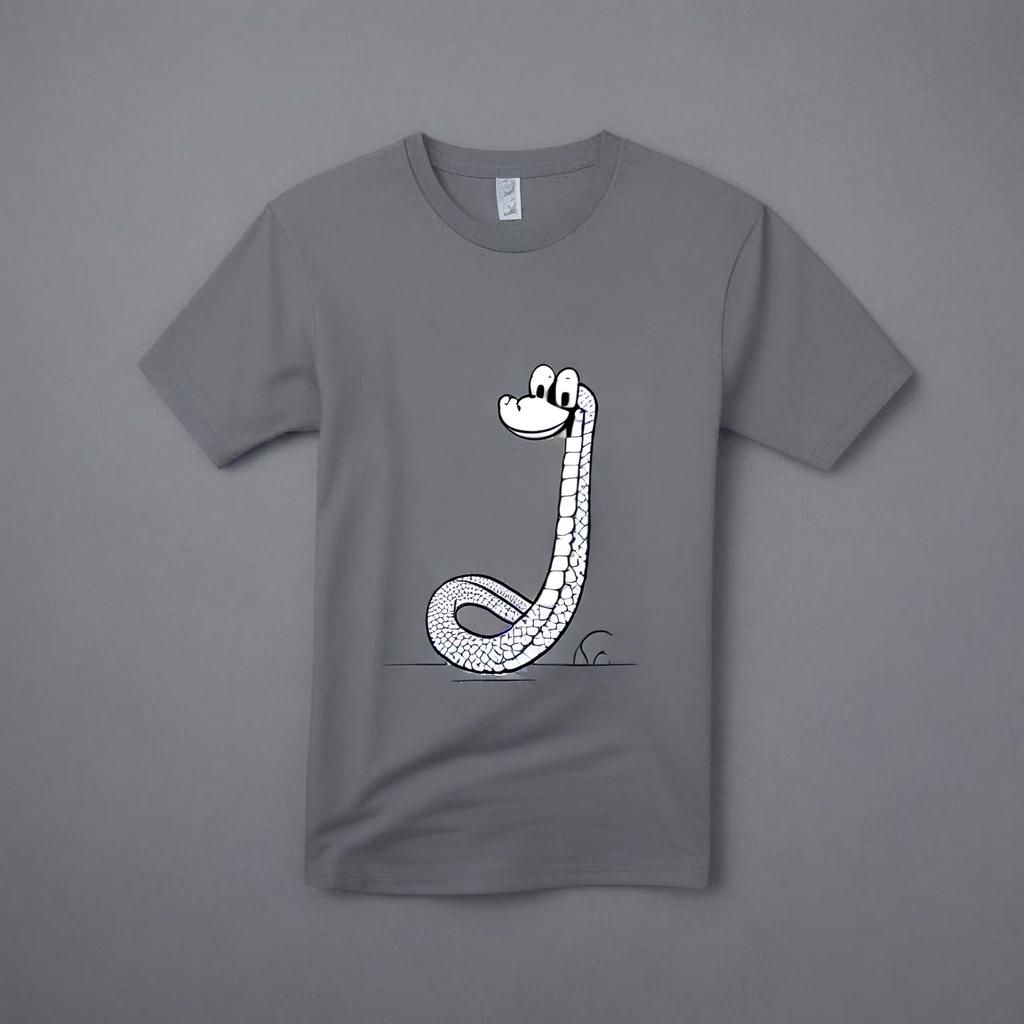
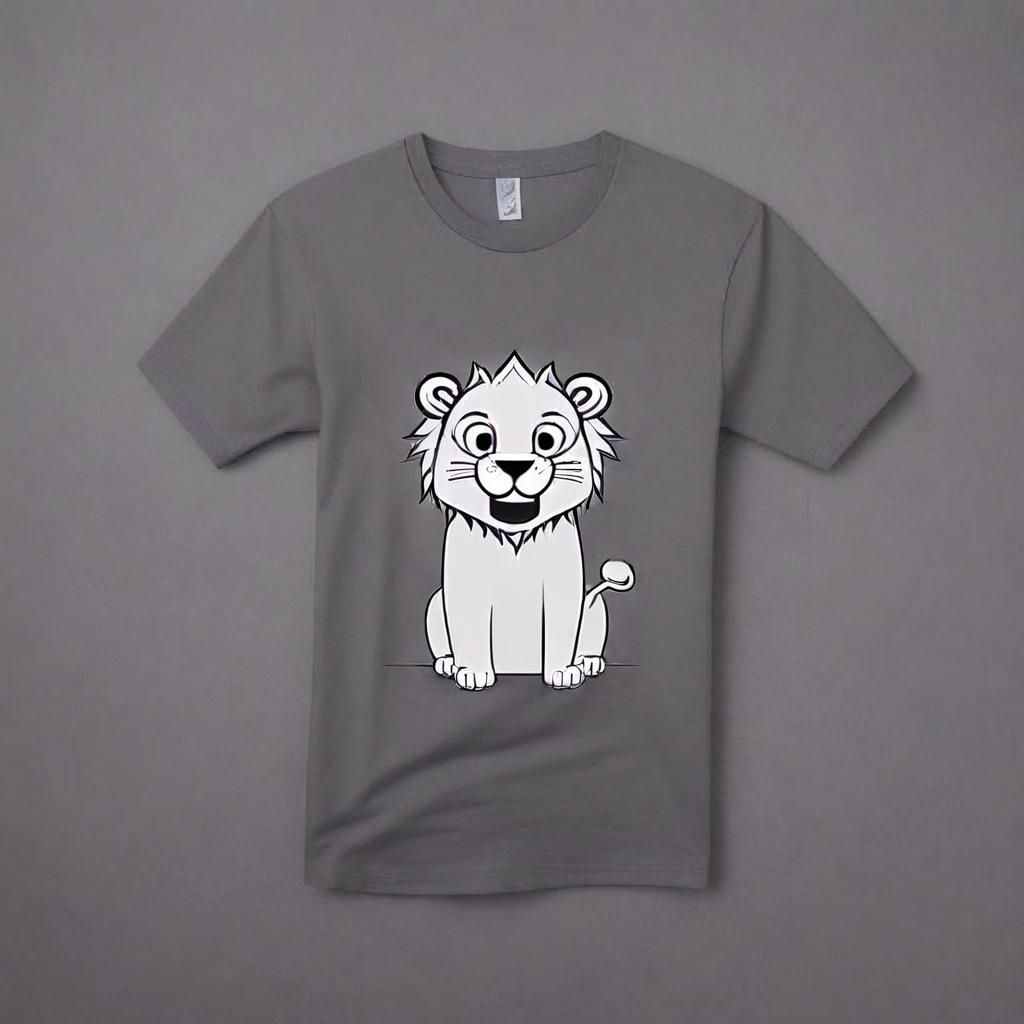
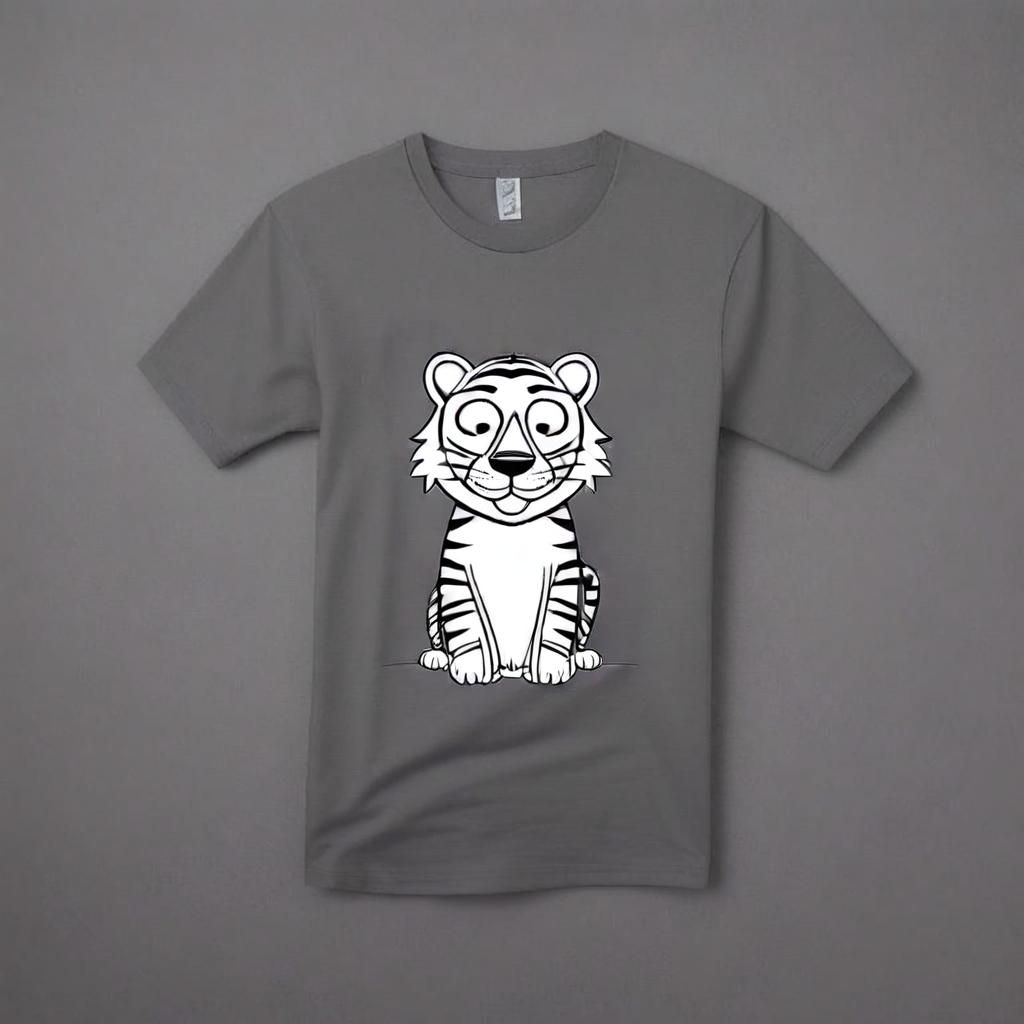
Example: Starting with a t-shirt featuring a line art design of a puppy, we mask the puppy image and provide text prompts such as 'line art image of a happy tiger,' 'line art image of a happy lion,' or 'line art image of a snake,' resulting in the output image where the original puppy design is seamlessly replaced with the new animal specified in the prompt.
Using IP-adapter Depth XL for T-shirt Design
IP-adapter Depth XL helps combine images and text to create new images. Imagine you have a tool that can draw pictures based on descriptions, but you also want to use an actual picture to guide the drawing. IP-Adapter does just that. It looks at the picture you give it, figures out the important parts of that picture, and then uses those details along with any text descriptions along with image prompt (IP image) you provide. It sends all this information to a part of the system called the UNet, which is like the artist that combines everything to create a new image. This way, you can mix what's in a photo with new ideas from text to make something unique.
Using the IP-adapter Depth XL model involves a few simple steps:
- Choose an Input Image: This is your starting point and the model's inspiration.
- Select an Image Prompt (IP Image): This is the image where you want to incorporate elements from your input image.
- Provide a Text Prompt: Use this to tell the model exactly what changes you want to see.
- Get the Output Image: The final step is receiving your output image, which creatively combines elements from both the input image and the IP image, all based on your text directions.
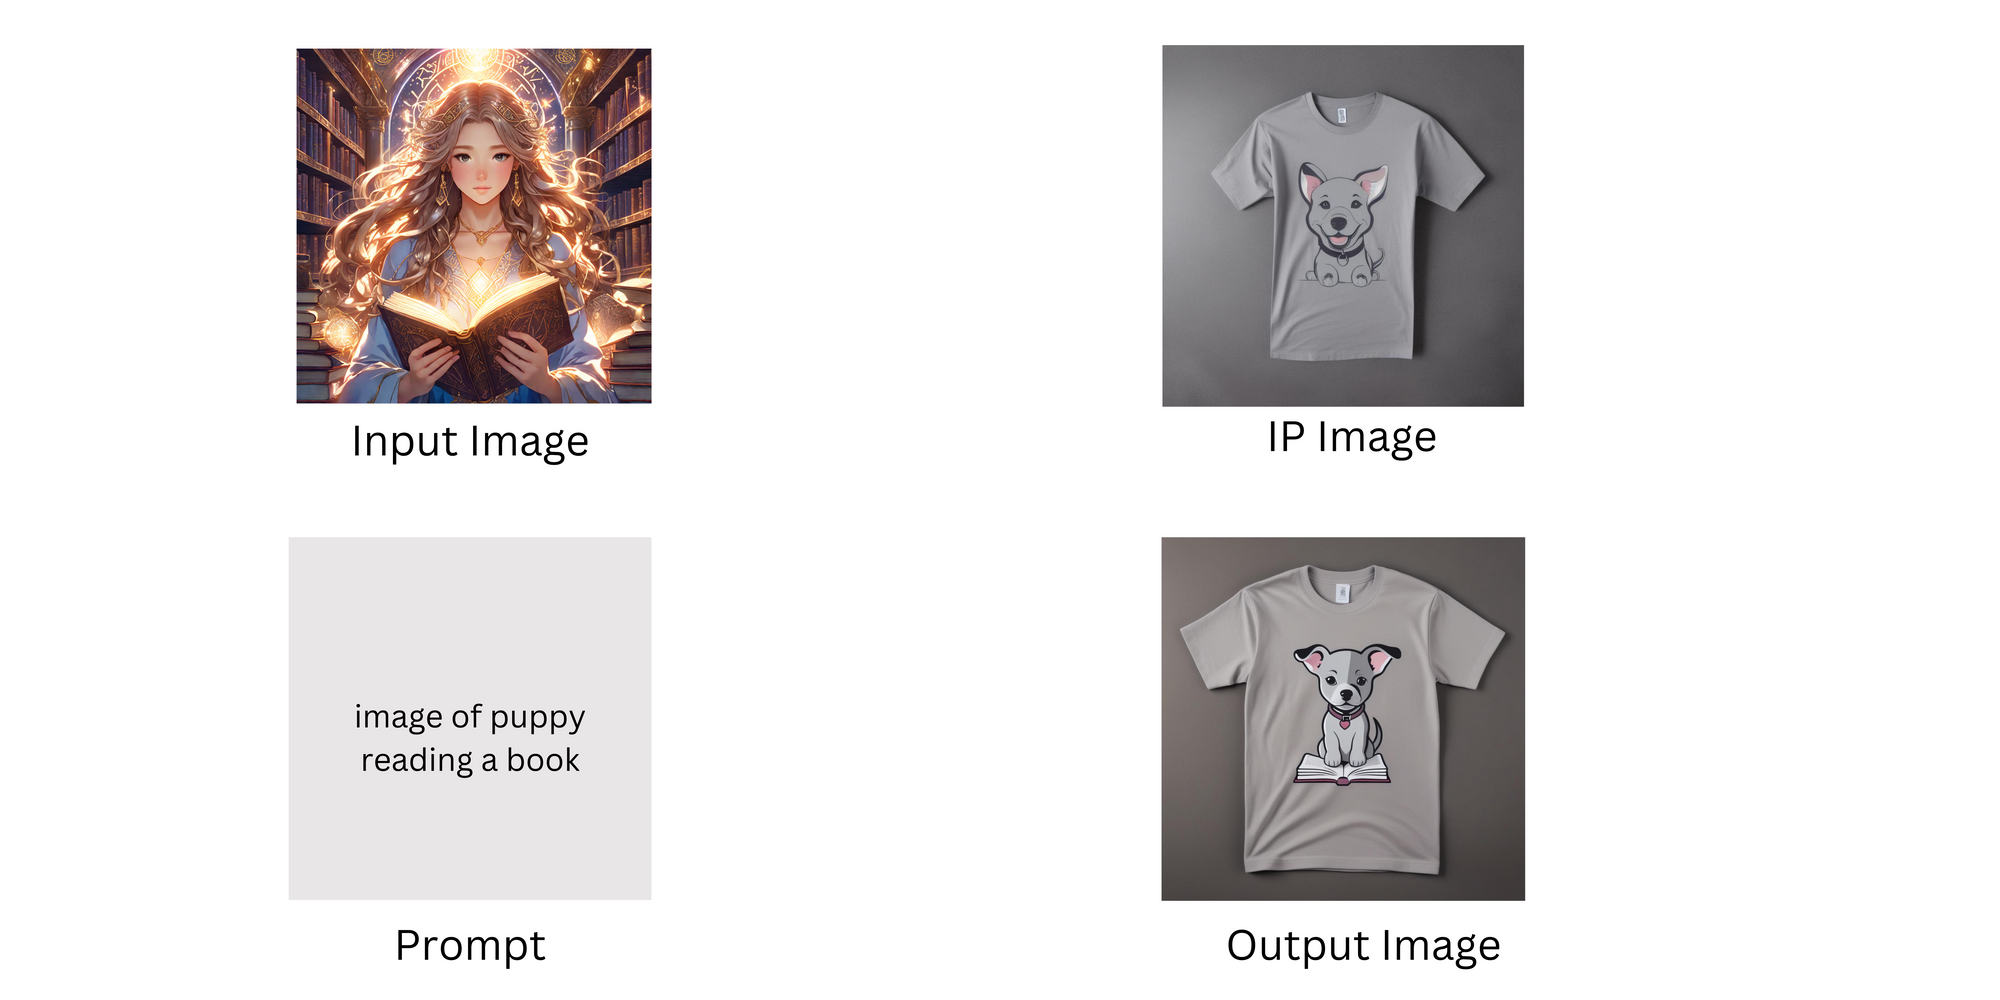
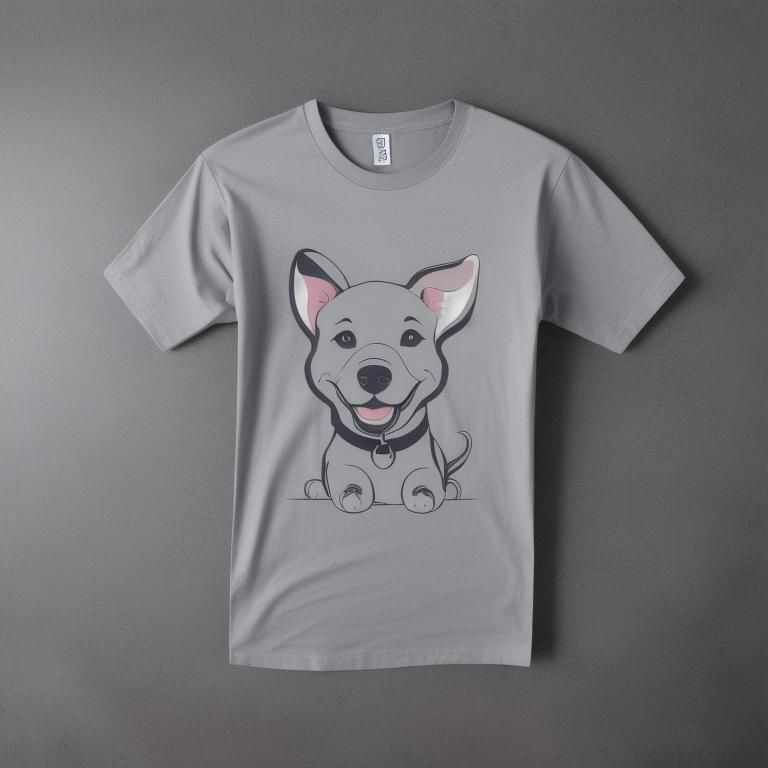
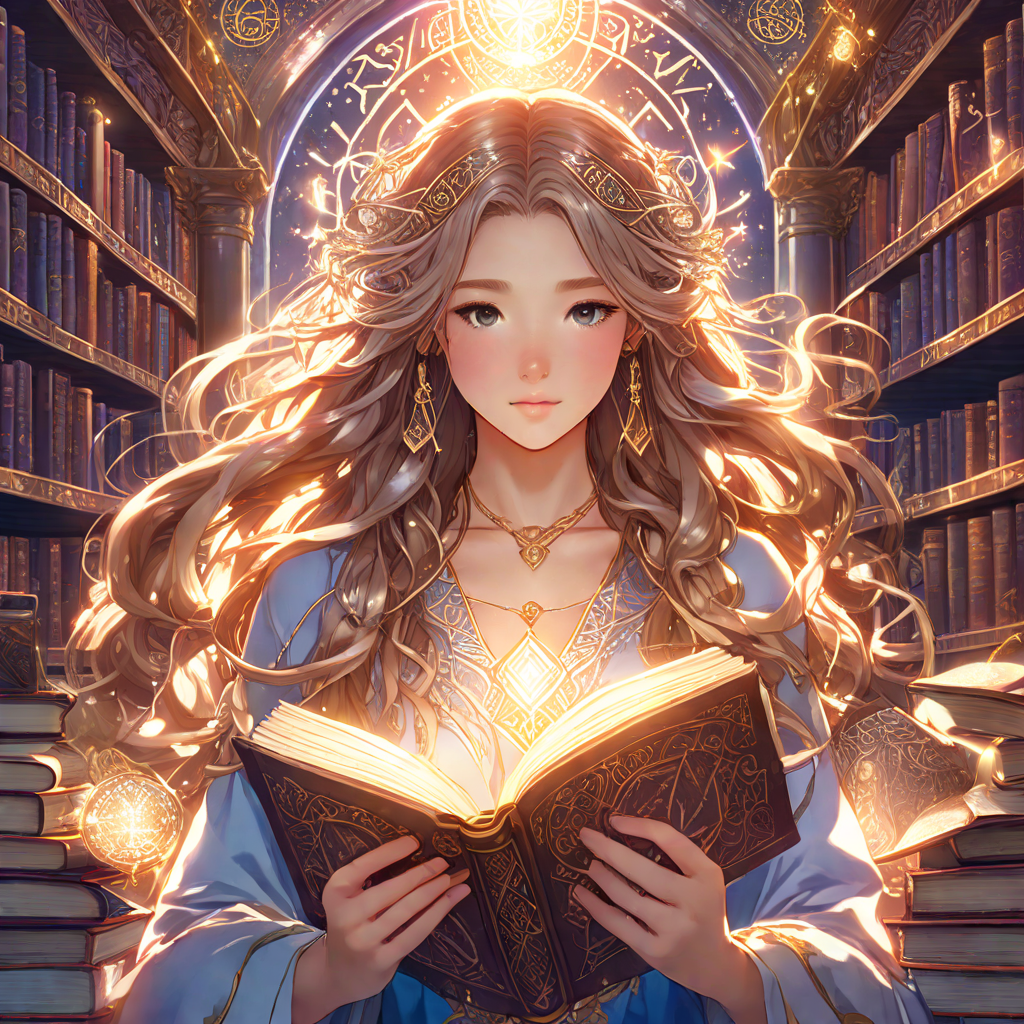
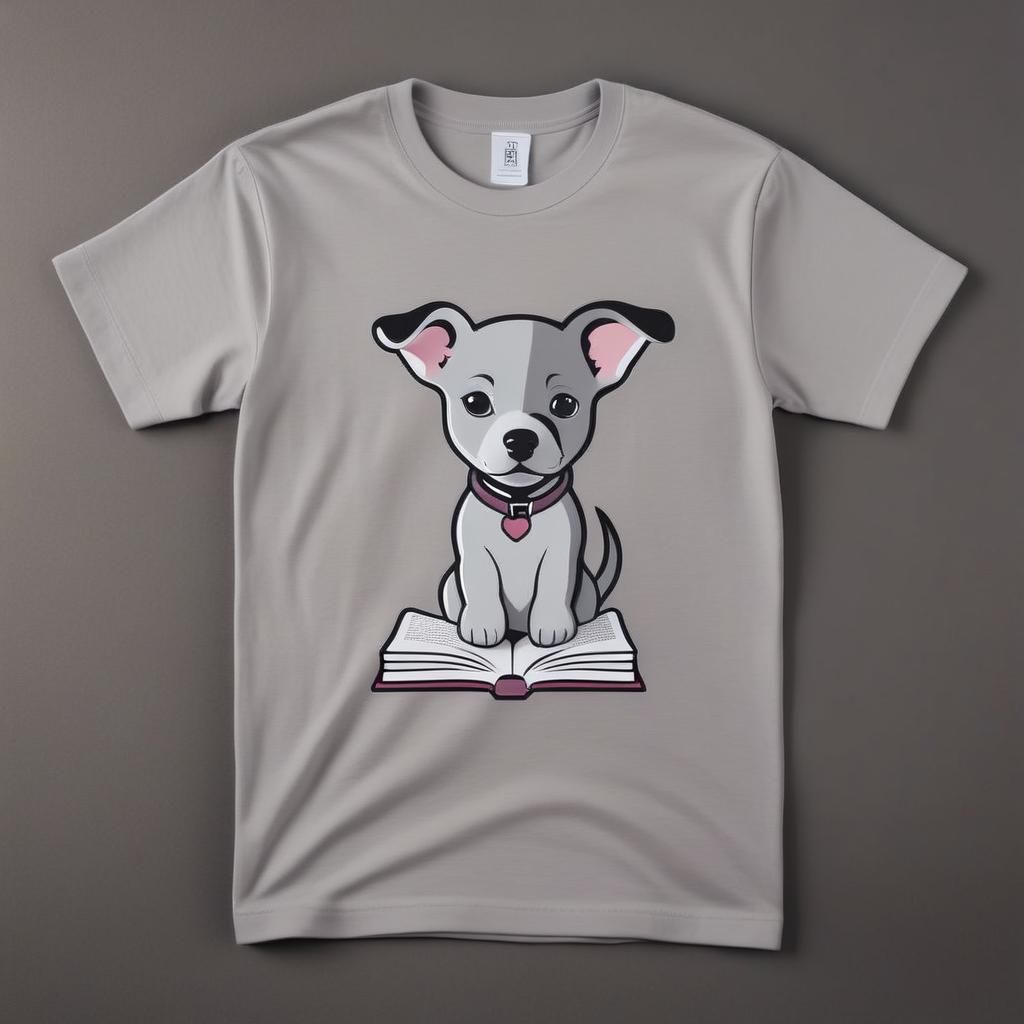
Example 1: We start with an input image of an anime girl reading a book and an IP image of a t-shirt with a dog at the center. By providing the text prompt "image of puppy reading book," the IP-adapter Depth XL model merges these elements, resulting in an output image of a t-shirt that now features a puppy reading a book at its center. This process effectively combines the reading theme from the anime girl with the dog image from the t-shirt.
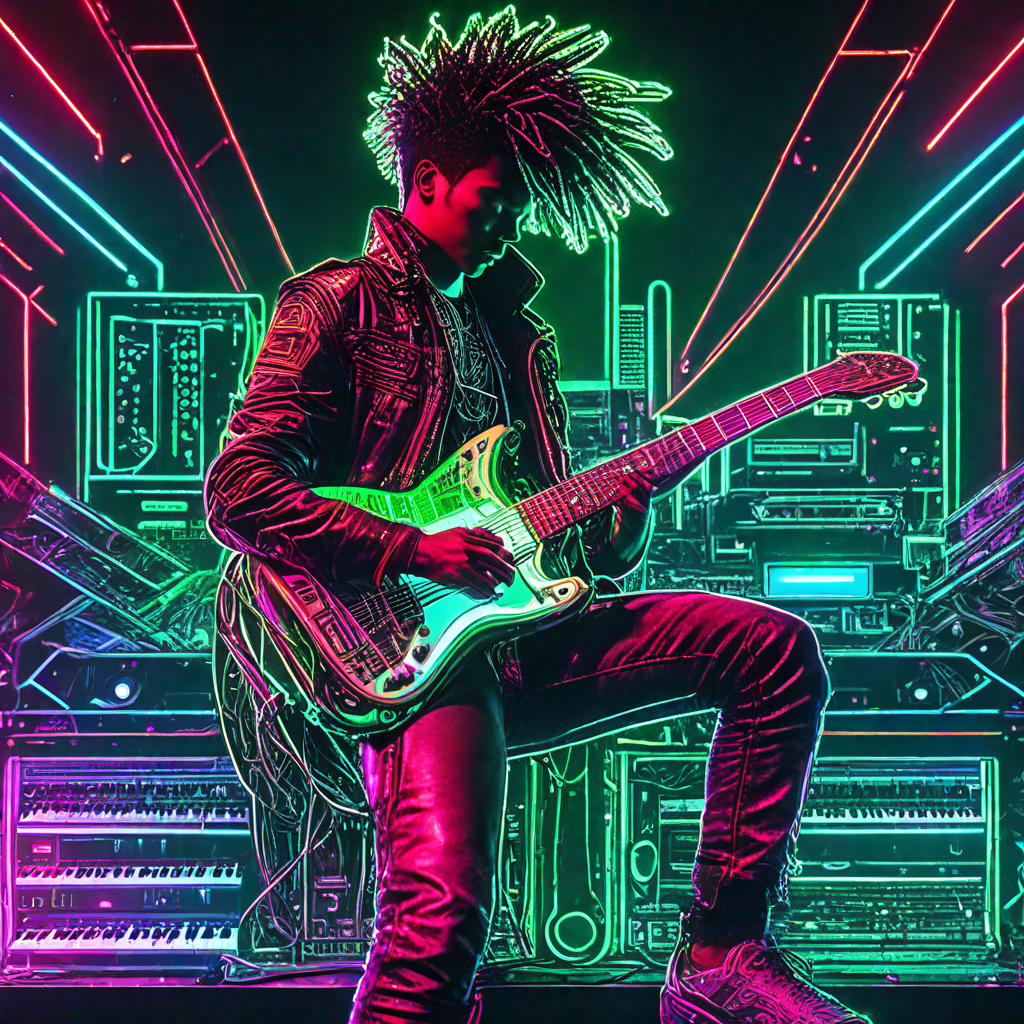
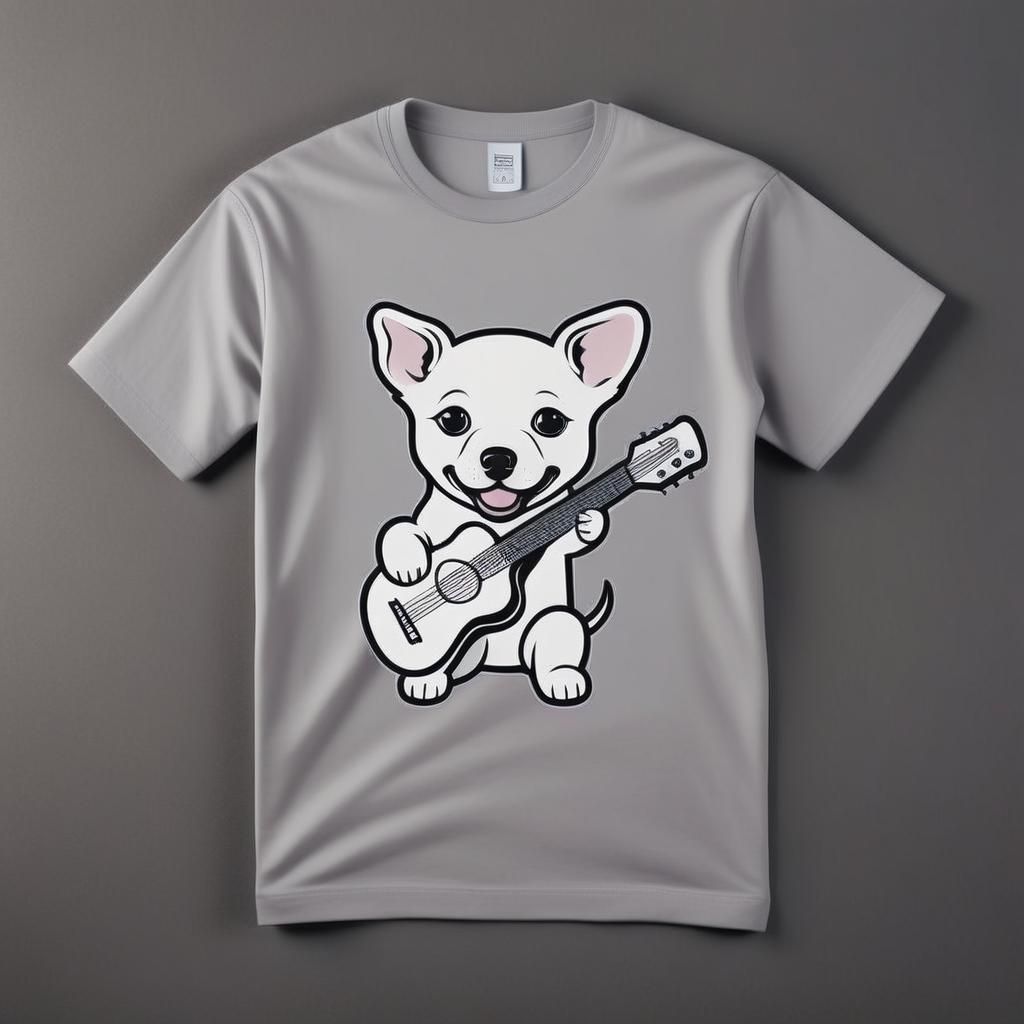
Example 2: In this example, the process starts with an input image showcasing a neon punk art style of a person playing guitar. This is paired with an IP image of a t-shirt that features a dog at the center. By applying the text prompt "image of puppy playing guitar," the IP-adapter Depth XL model synthesizes these elements. The resulting output is a t-shirt that now displays an image of a puppy playing guitar at its center, effectively merging the vibrant, musical theme of the input image with the dog from the original t-shirt design.
Conclusion
In summary, in our exploration of t-shirt design with SDXL inpainting and IP-adapter Depth XL models, we've seen a remarkable possibilities. These models have opened new avenues for designers, blending technology and art to transform t-shirts into unique, expressive pieces. We have only scratched the surface of what these models can achieve. Dive into the possibilities, experiment with your ideas, and watch as your creative visions come to life on the canvas of a t-shirt.