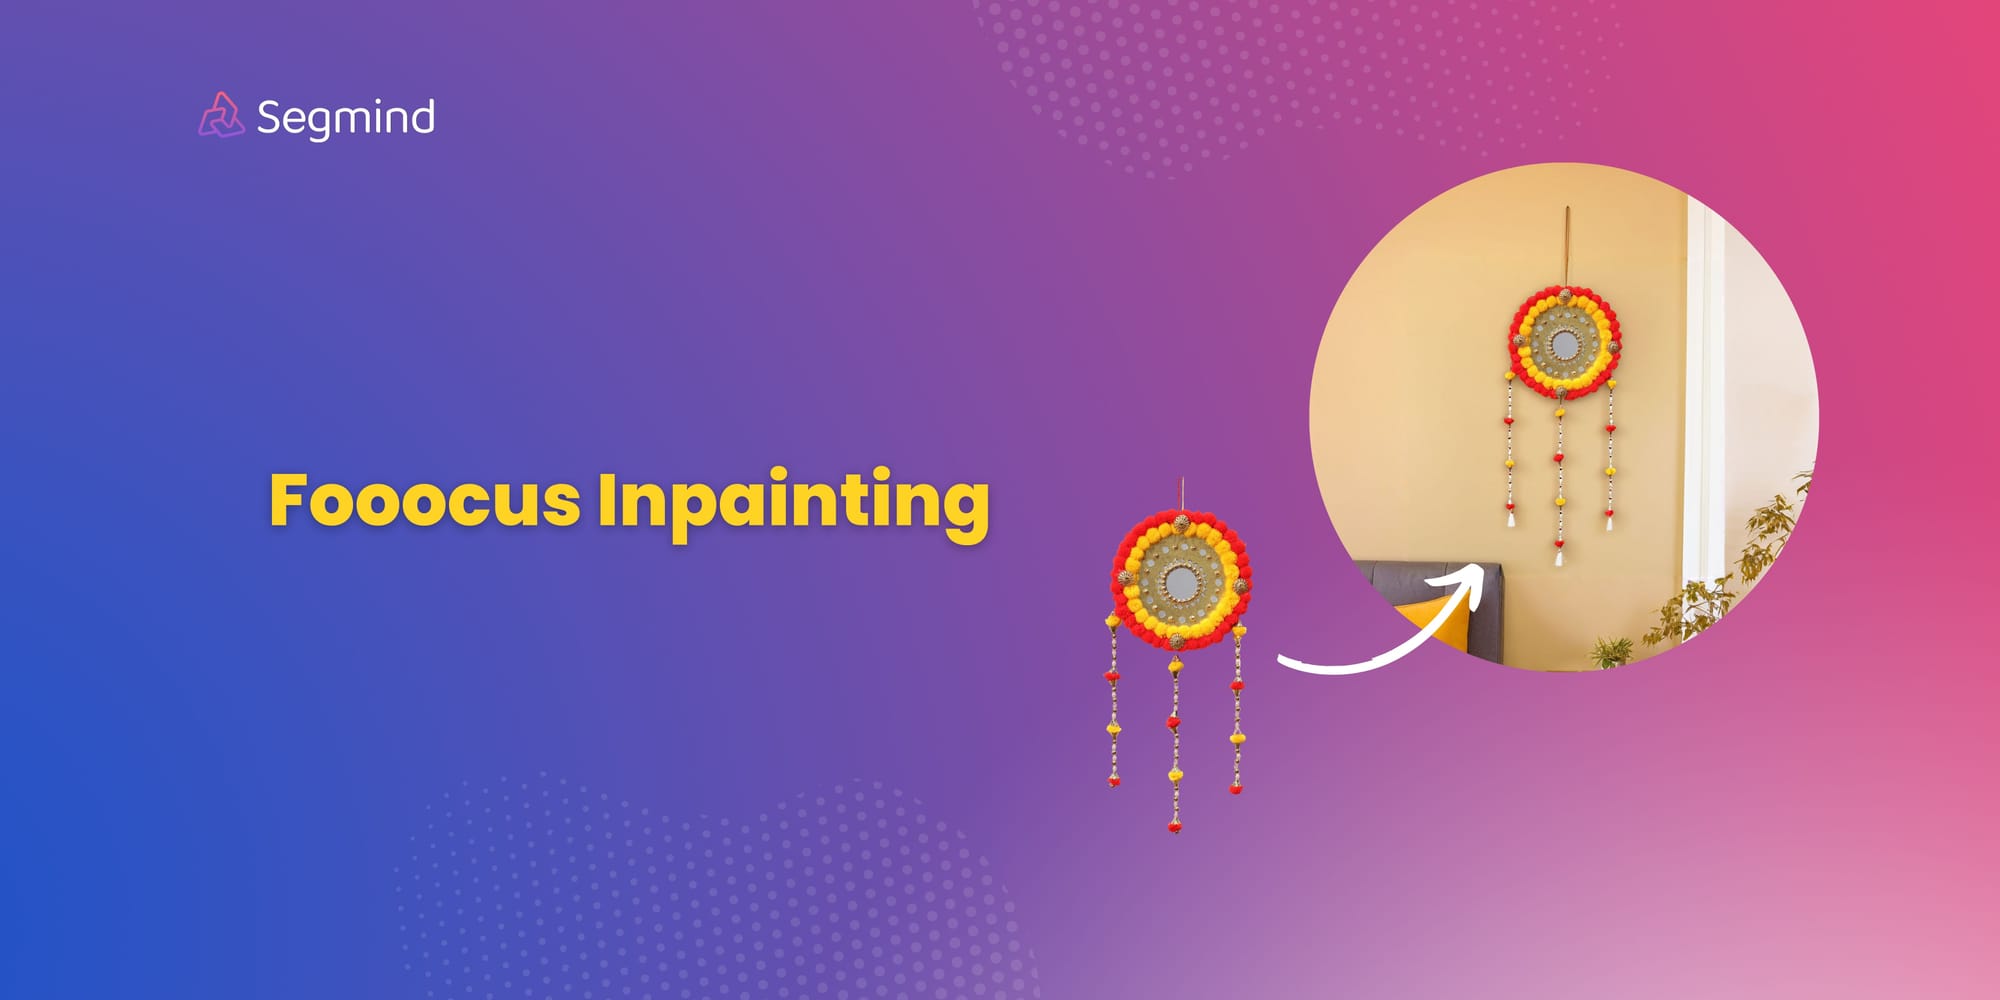
How to Inpaint in Fooocus: A Beginner's Guide
Discover how you can selectively edit images with Fooocus. This blog post we do a deep dive into the various inputs and settings that fine-tune image generation, providing a comprehensive guide to getting started with Fooocus inpainting.

Fooocus inpainting can modify or enhance existing images, allowing you to selectively edit specific areas of an image while the AI fills in the gaps in a realistic and coherent way.
Here are some examples of how you can use Fooocus inpainting:
- Remove unwanted objects from an image.
- Fill in missing parts of a damaged photo.
- Change the background of an image.
- Add creative elements to an existing image.
- Enhance the details and realism of a specific area.

Fooocus is now on Segmind Pixelflow, which means you can jump right in and start using it with no setup needed. Super easy!. Before you can start playing around with Fooocus inpainting, lets dive into various inputs images and settings that help in fine-tuning the image generation in Fooocus Inpaining.
Input Image Types in Fooocus
These are the images you will be using as inputs in Fooocus. You can import various types of images such as an image prompt, Face image, Pyracanny, and CPDS depending on the use-case or desired final image output.

Image prompt
This is a general type of input where an image acts as a reference guide for the AI. It guides the image generation process in the direction of the provided image.
Face Image
This is a specific kind of image prompt where the provided image focuses on a face. It’s useful when you want to specifically modify or generate an image centered around a face.
Pyracanny
This isn’t exactly an image prompt itself, but rather a custom control method used in Fooocus. Pyracanny is a pyramid-based Canny edge control and it excels at detecting edges in high-resolution images. Regular Canny edge detection might miss some details, so PyraCanny tackles this by analyzing the image at various resolutions to create a more comprehensive edge map. This edge map then influences the final image.
CPDS
Contrast Preserving Decolorization (CPDS) is another custom control method used in Fooocus. It works in a way that’s comparable to ControlNet depth conditioning. CPDS helps in understand the depth information within the image, which can be useful for creating a more realistic or nuanced final image output.
Weights for Control Methods in Fooocus
These are the parameters that control the influence of different aspects like Faceswap, Image prompt, Pyracanny, and CPDS on the final output in Fooocus. The extent of this influence is determined by two settings:
- Stop At: This determines how long the control method remains active during the image generation process. A value of 0.5 means it stops influencing after 50% of the steps, while 1 signifies it influences the entire process.
- Weight: This setting determines the strength of a control method's impact on the final image. Think of it as a volume knob. A higher weight (maximum value of 1.5) translates to a stronger influence on the final outcome.

Faceswap CN Weight & CN Stop
Setting Weight & CN stop high ensures the Faceswap method influences the entire process with a strong impact, leading to a more accurate replication of the reference face.
Image prompt Weight & CN Stop
Setting Weight & CN stop high for image prompt emphasizes elements from the provided image in the final output.
Pyracanny CN Weight & CN Stop
Setting Weight & CN stop high for Pyracanny control method will have a strong influence on the original image, helping to accurately detect the edges in the input image.
CPDS CN Weight & CN Stop
Setting Weight & CN stop high for CPDS control method will have a strong influence on the original image, helping to accurately measure the depth information in the input image.
Tweak these parameters to align with your specific use-case or desired final image output. For instance, if you aim for the 'Image Prompt' to significantly impact the output, increase the values of Weight and Stop at. This strategy applies to Faceswap as well. If your goal is to maintain the composition, enhance the ‘Pyracanny’ value. Conversely, to alter the composition, boost ‘CPDS’.
Other Important Parameters in Fooocus for Inpainting
Along with the above parameter, the parameters mentioned below play a key role in the inpainting process and help generate desired image outputs seamlessly.
Erode
This is used to erode the edges of the mask to make the inpainting blend better with the original image. It helps in achieving a more seamless and natural-looking result.
Denosing Strength
This controls the amount of denoising applied during the inpainting process. Adjusting this parameter can help control how much the masked area will change.
Invert Mask
This option allows you to invert the mask, which can be useful in certain inpainting scenarios. For example, if you want to change the background while keeping the subject intact, you can use this feature.
You can Background Removal v2 model to create masks for any object/subject in an image and use it in Fooocus inpainitng.
Mixing Inpaint and Outpaint
This allows you to mix the inpainted content (the content generated within the masked area) with the outpainted content (the content generated outside the masked area).

Additional Prompts
These are extra instructions or descriptions that you can add to guide the inpainting process. For example, you can specify ‘highly detailed face’ to get a more detailed facial inpainting.
Inpaint Respective Field
This refers to the specific area you want to inpaint. You can select this area using a mask. The inpainting process will then only affect this selected area.
Explore Fooocus Inpainting and Outpainting models on Segmind Pixelflow. Get 100 free inference every day.

