SDXL-OpenPose and CodeFormer Workflow for Image Transformation
Learn how you can combine SDXL Openpose and Codeformer models in a workflow for image transformation.

In the ever-evolving landscape of artificial intelligence, the fusion of cutting-edge technologies has paved the way for groundbreaking advancements in image processing. Among these, human pose estimation and face restoration stand out as pivotal domains with transformative potential. The intricate task of deciphering nuanced human poses and restoring facial images with unparalleled finesse has captured the imagination of many, opening doors to innovative applications across diverse sectors.
In this comprehensive guide, we will build a sinple workflow that seamlessly combines the capabilities of two formidable models: SDXL OpenPose and CodeFormer. As we navigate the intricacies of this workflow, our goal is to spotlight not only the individual prowess of each model but also the unparalleled synergies that arise when they converge. Within this unified workflow, precision in human pose estimation and the intricacies of facial image restoration come together harmoniously, promising to redefine the very standards of image processing.
How does SDXL-OpenPose and CodeFormer work?
Let's have a surface-level overview and intuition of how these models work. Understanding these models' surface-level workings assists in crafting prompts and fine-tuning parameters, allowing us to intelligently adjust these models to achieve the desired outcomes in pose estimation and facial image restoration tasks.
SDXL-OpenPose
SDXL OpenPose leverages ControlNet's architecture to convert precise pose details into a control map. This map, alongside textual prompts, feeds into the Stable Diffusion model, resulting in accurate pose replication and granting users enhanced creative flexibility.
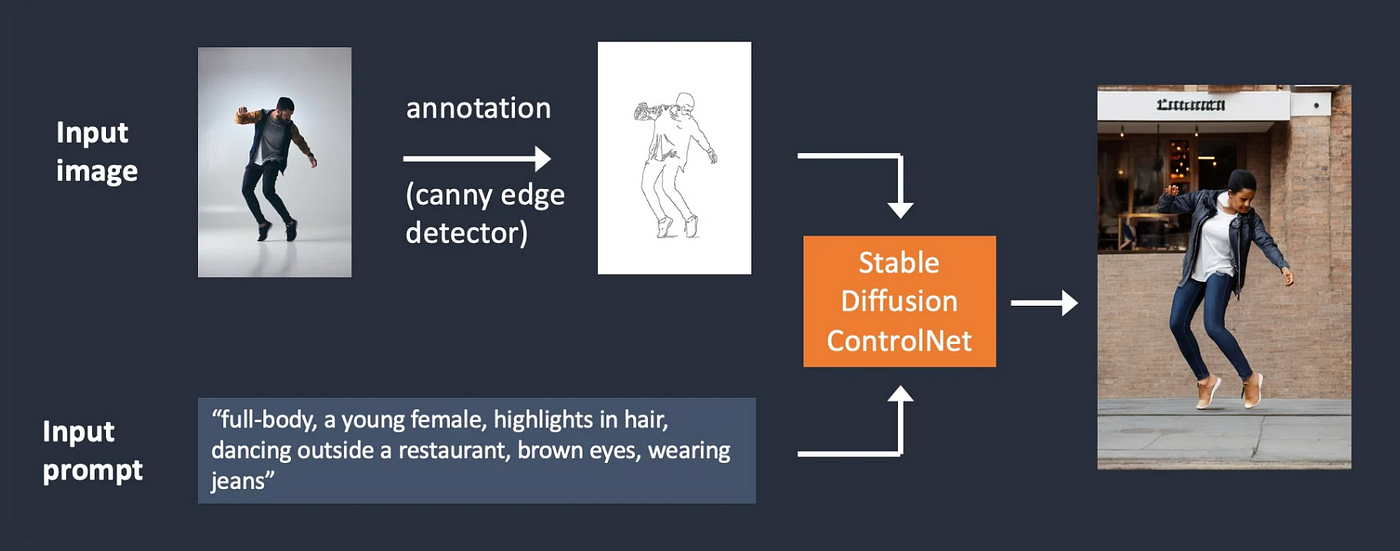
ControlNet, designed explicitly for acquiring conditional controls, employs a unique 'zero convolutions' technique using zero-initialized convolution layers. These layers incrementally build parameters from scratch, creating a controlled, noise-free environment during fine-tuning. This approach safeguards against disruptive noise while integrating spatial conditioning controls seamlessly. A deep dive into the SDXL-Openpose model can be found here at SDXL Openpose: A Deep Dive into Effective Parameter Choices.
CodeFormer
The CodeFormer model initially learns a discrete codebook and decoder through self-reconstruction learning to store high-quality facial image details. Later, using this fixed codebook and decoder, a Transformer module predicts code sequences, representing the overall composition of low-quality input faces.
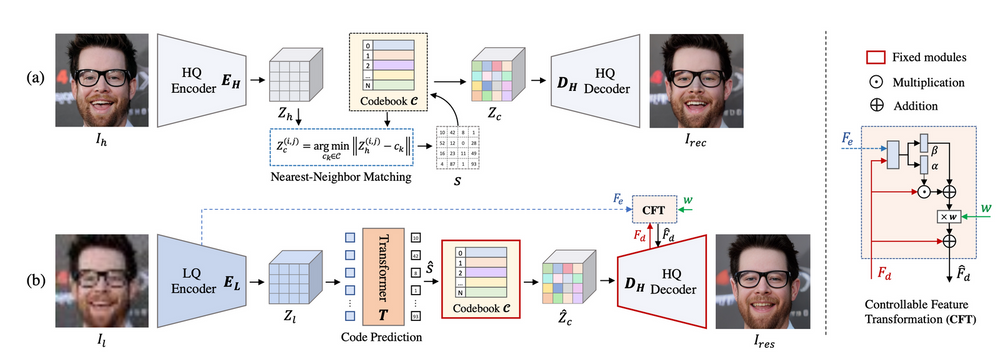
Moreover, it incorporates a controllable feature transformation module to regulate information flow. It's worth mentioning that this connection can be turned off, preventing negative impacts when inputs are severely degraded. To explore more about Codeformer head over to Codeformer for face restoration
Workflow Design
A workflow in this context is a strategic arrangement of models designed for specific outcomes. SDXL-OpenPose excels in human pose estimation, providing the initial scaffold, while CodeFormer enhances facial details. This is a dynamic framework, considering input data, model configurations, and output expectations, ensuring seamless integration and adaptability. Beyond a simple combination, the workflow is a comprehensive approach optimized for our unique use case. In the following sections, we delve into each stage, providing insights into decision rationale and the transformative impact of combining SDXL-OpenPose and CodeFormer.
Generating an Image using SDXL1.0
We will start by generating an image using SDXL 1.0. Segmind offers serverless API to leverage their models. Obtain your unique API key from the Segmind console for integration into various workflows using languages such as Bash, Python, and JavaScript. To explore the docs, head over to SDXL API.
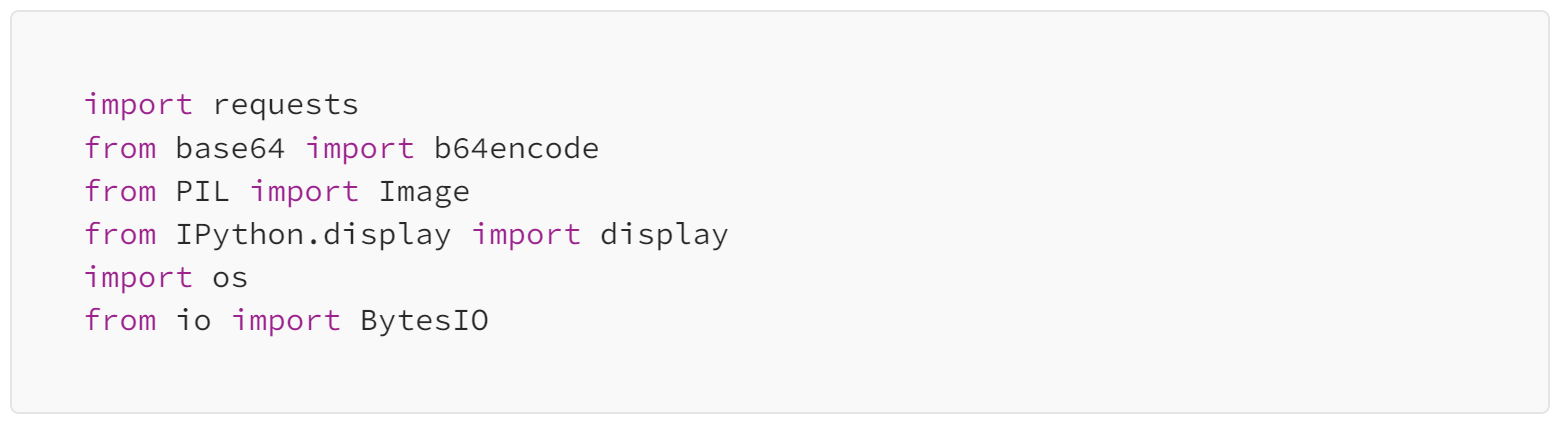
We will use Python for this guide. First, Let's define the libraries that will help us interact with the API and process the images.
Now, let's define our SDXL Url and API key, which will give access to Segmind's models.

Now that we've got the initial steps sorted, it's time to create a prompt for our image, define the desired parameter configurations, and assemble the request payload for the API. For optimal settings with SDXL 1.0, check out the recommended configurations at Best Settings for Stable Diffusion SDXL 1.0.
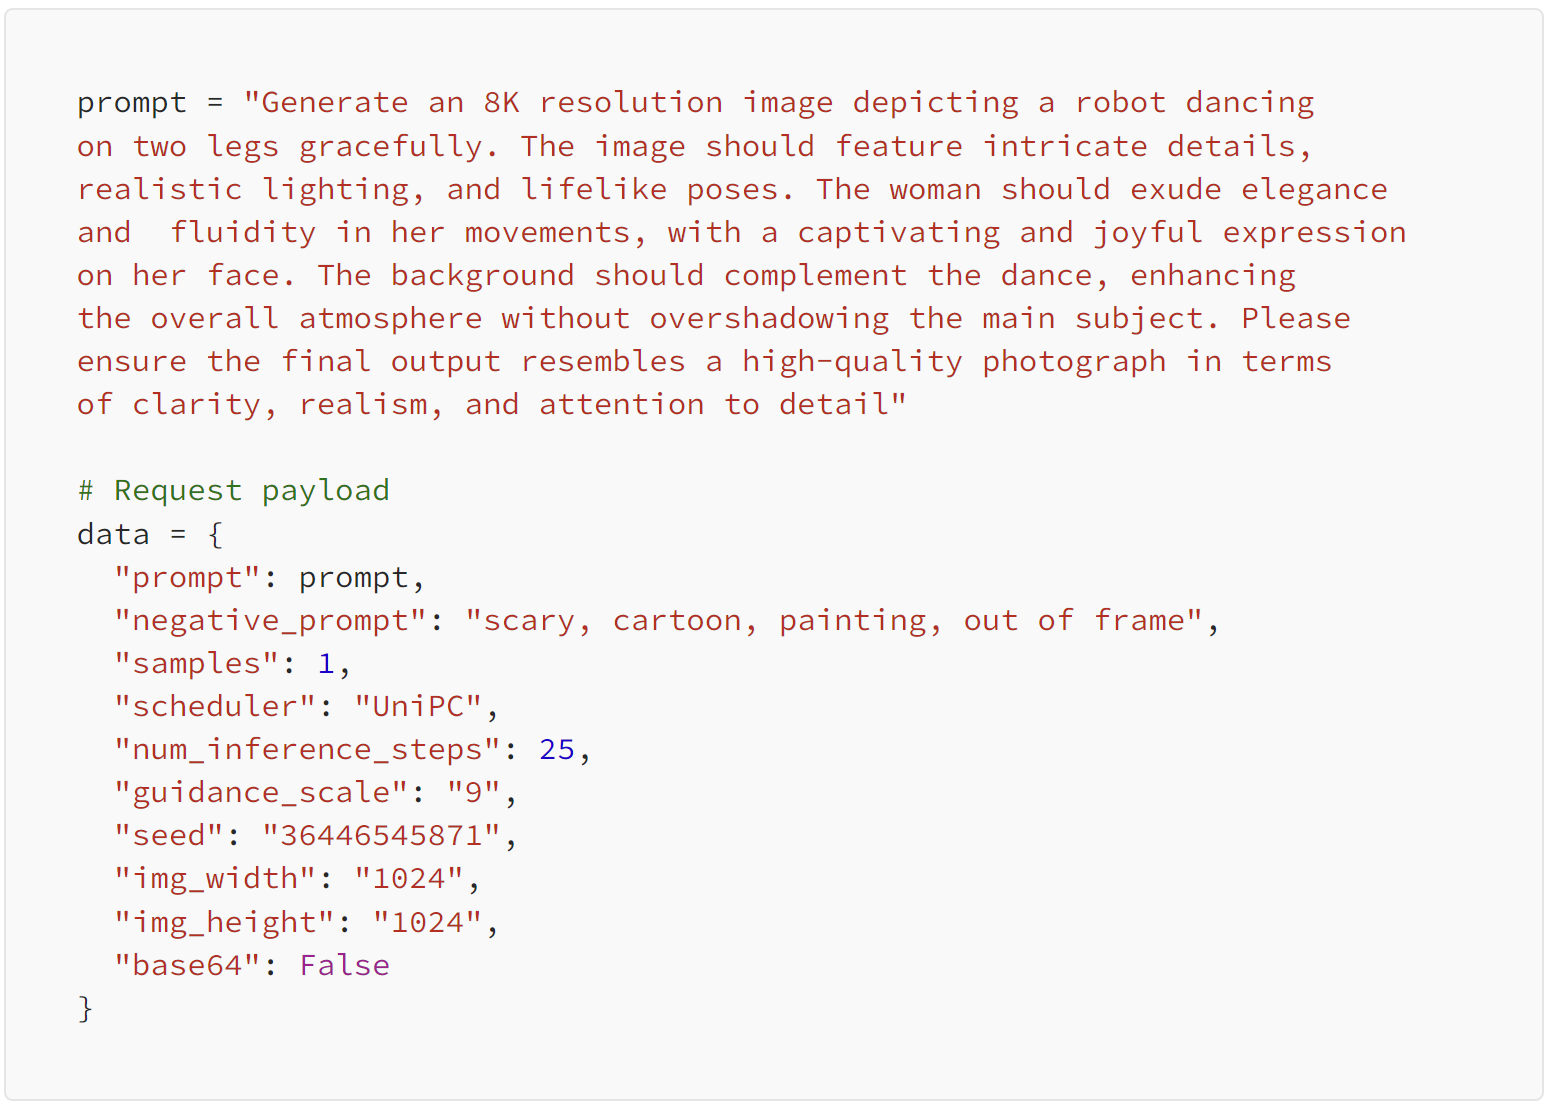
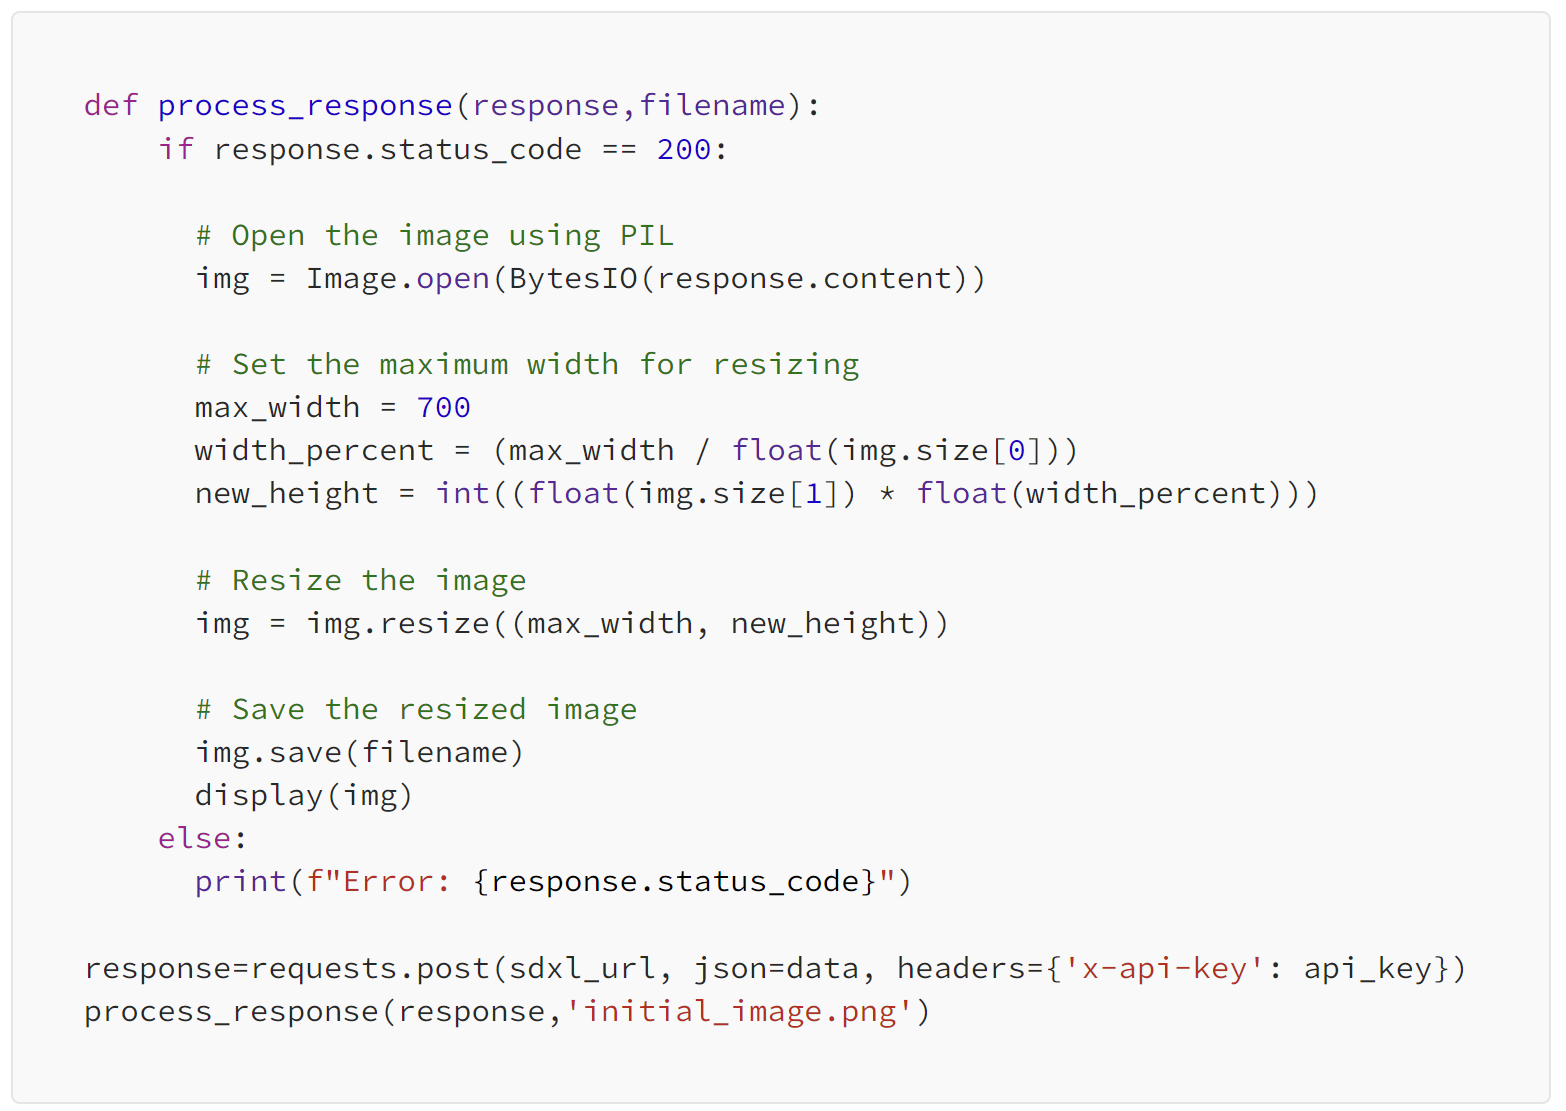
Now that our request payload is set, it's time to send a request to the API endpoint and retrieve our generated image. Additionally, we'll resize the image to suit our workflow requirements, ensuring it fits seamlessly into our next steps.
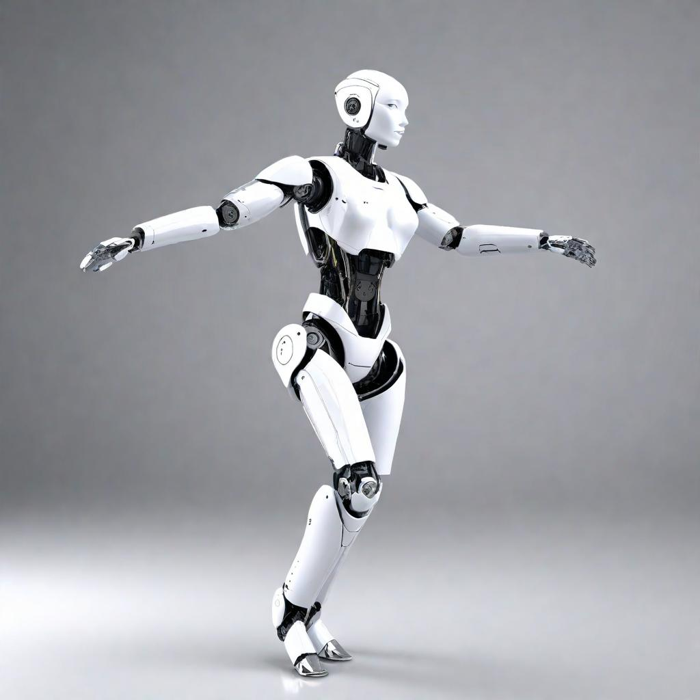
Here is our result , we have saved it into a png format so as to use it downstream.
Using SDXL Openpose to transform the Image
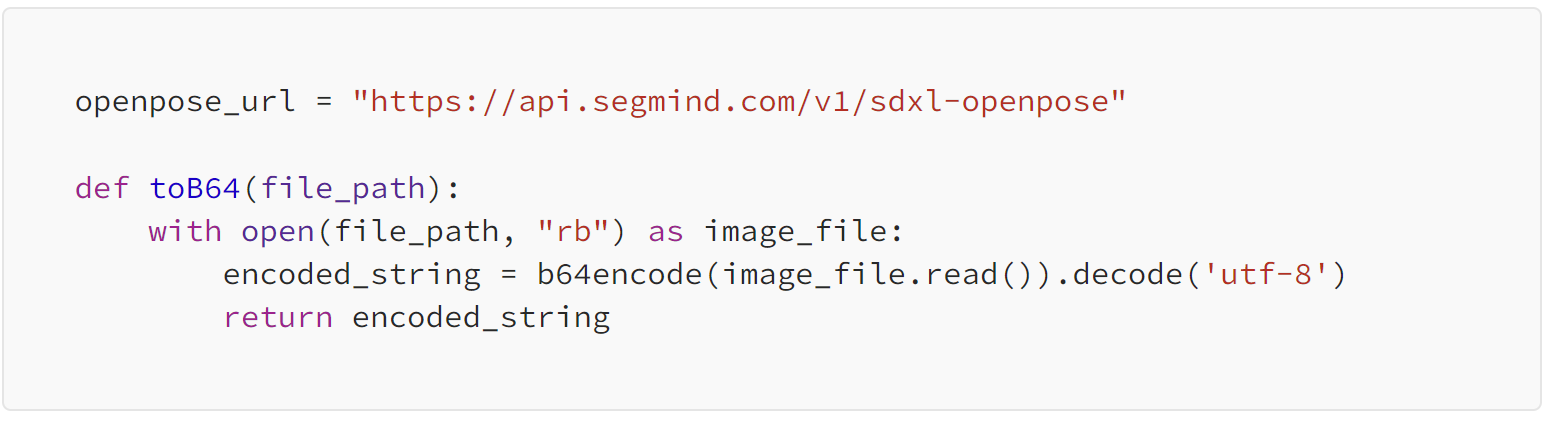
We're gearing up to utilize SDXL Openpose model by employing the generated image as our reference. To kick things off, we'll convert this image into base64 format, a necessary step before passing it through our API endpoint. Let's begin by defining the endpoint and crafting the function for image conversion.
Now it's time to set up everything for our API endpoint. First, we'll create the prompt and structure the request data payload for transmission. To optimize Openpose parameters, explore the recommended configurations at SDXL Openpose: A Deep Dive into Effective Parameter Choices. Following that, we'll put our 'process_response' function from earlier to work, handling the response accordingly.
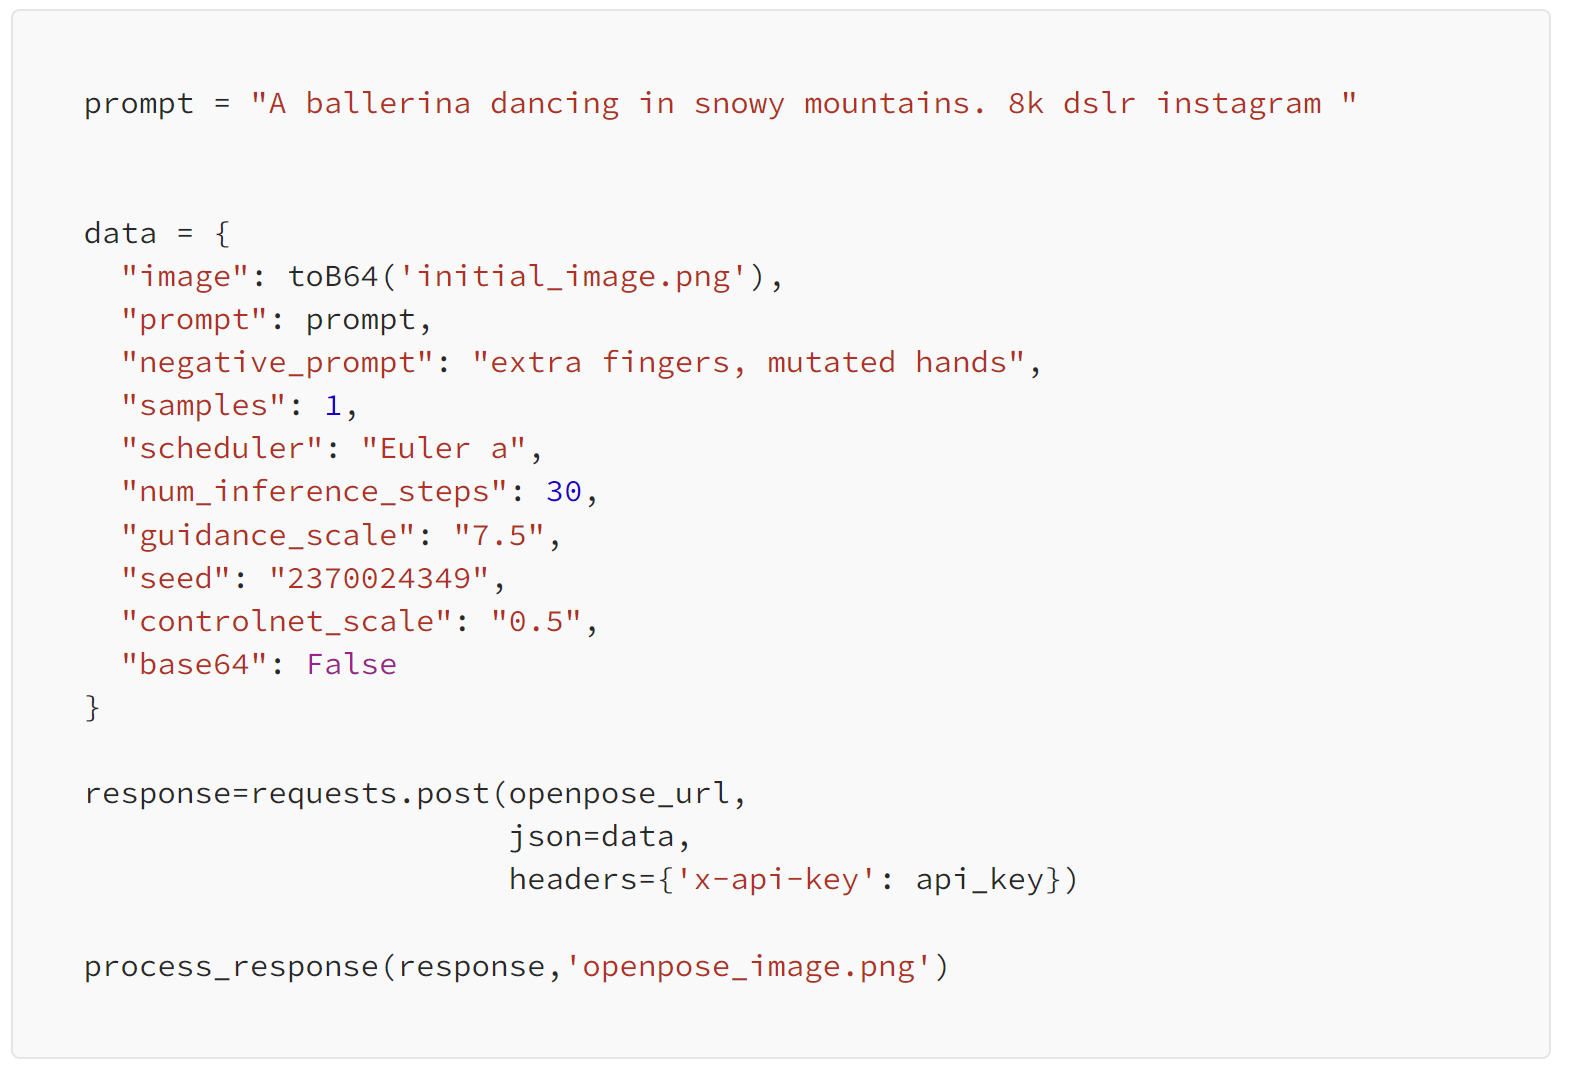
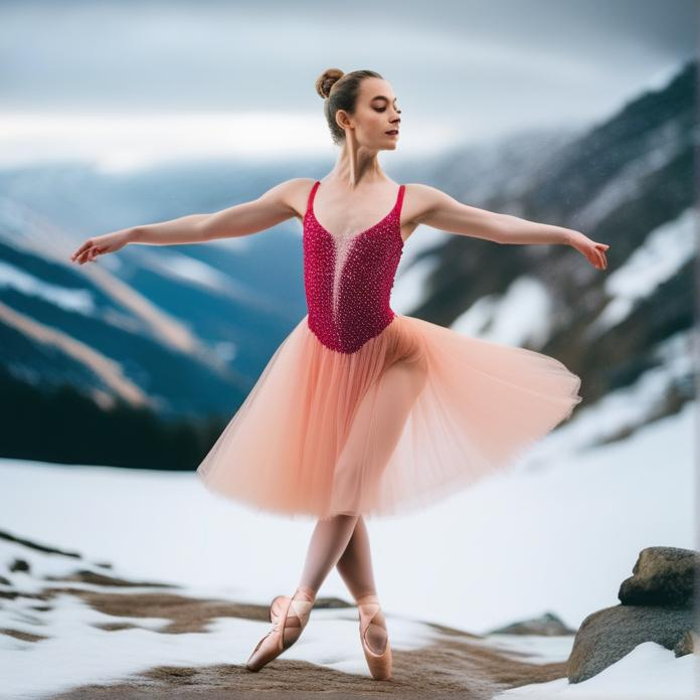
Ta-da! Feast your eyes on our handcrafted masterpiece!
Upscaling the Image through Codeformer
In our final step ,we'll utilize Codeformer to upscale the image and enhance its facial features, following a procedure similar to the one above. We'll kick off by defining the Codeformer API endpoint. After that, we'll employ our 'toB64' function to process the input image, packaging it into the data payload. For best setting of Codeformer parameters, do check out this blog : Best settings for Codeformer for face restoration
Finally, we'll initiate an API call and handle the response accordingly.
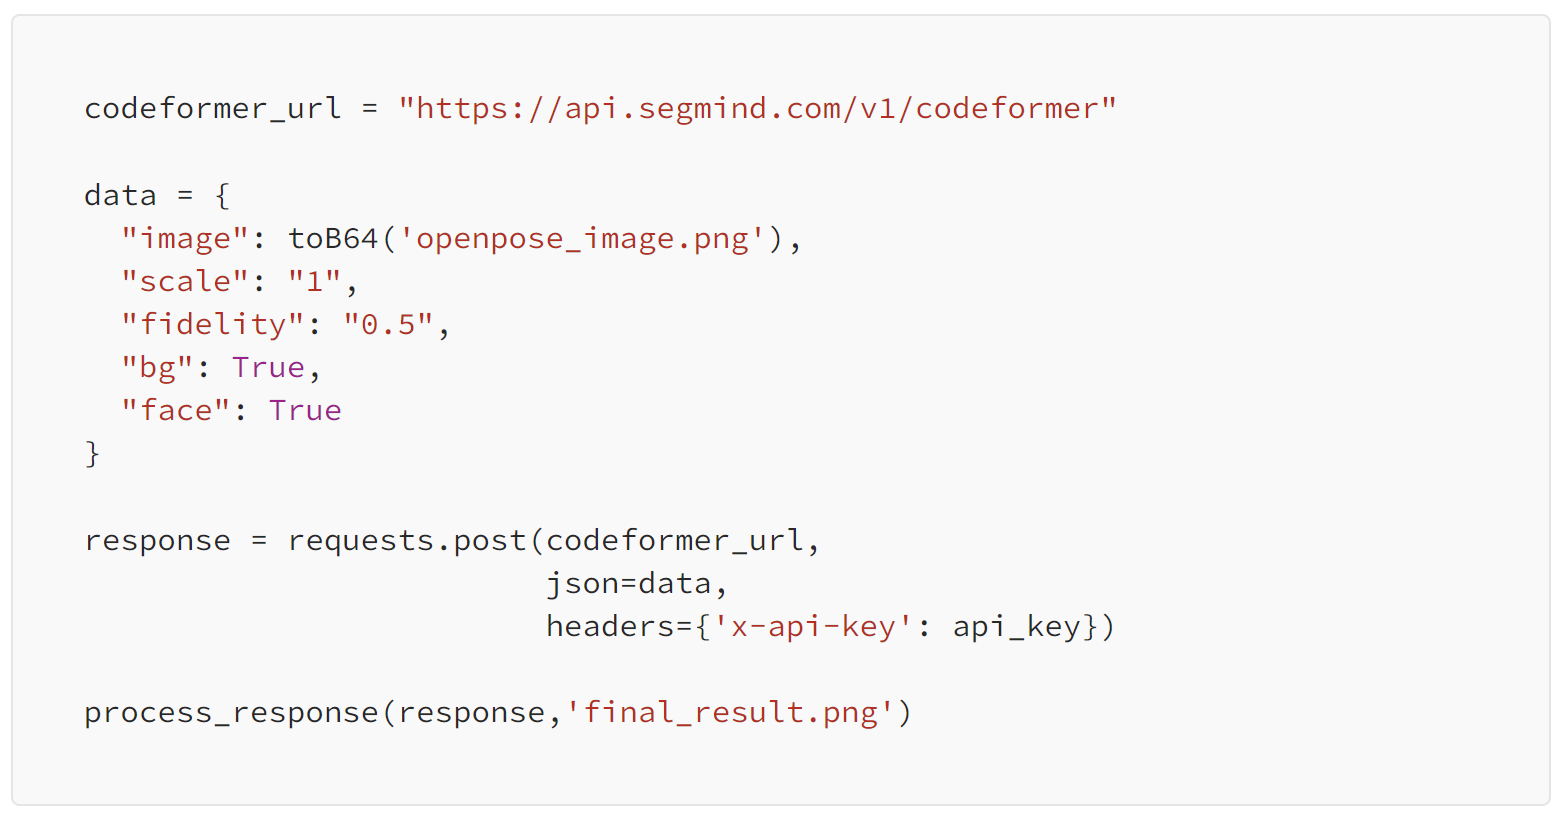
Here's our final result!! It's an upscaled and refined version of the previous image, boasting clearly defined facial features.

Summary
This guide walks you through designing a custom workflow using Segmind's models tailored specifically to my needs. Plus, you can access this demonstrated workflow conveniently within a Colab file.
The steps outlined here serve as a blueprint for creating your personalized workflow. By delving into Segmind's array of models, you have the flexibility to tailor workflows that precisely align with your unique requirements. Explore the possibilities and craft workflows that suit your needs seamlessly, leveraging the diverse models and tools available within the Segmind model ecosystem.
Stay tuned for Segmind Workflows, an upcoming feature that promises effortless creation and customization of workflows.