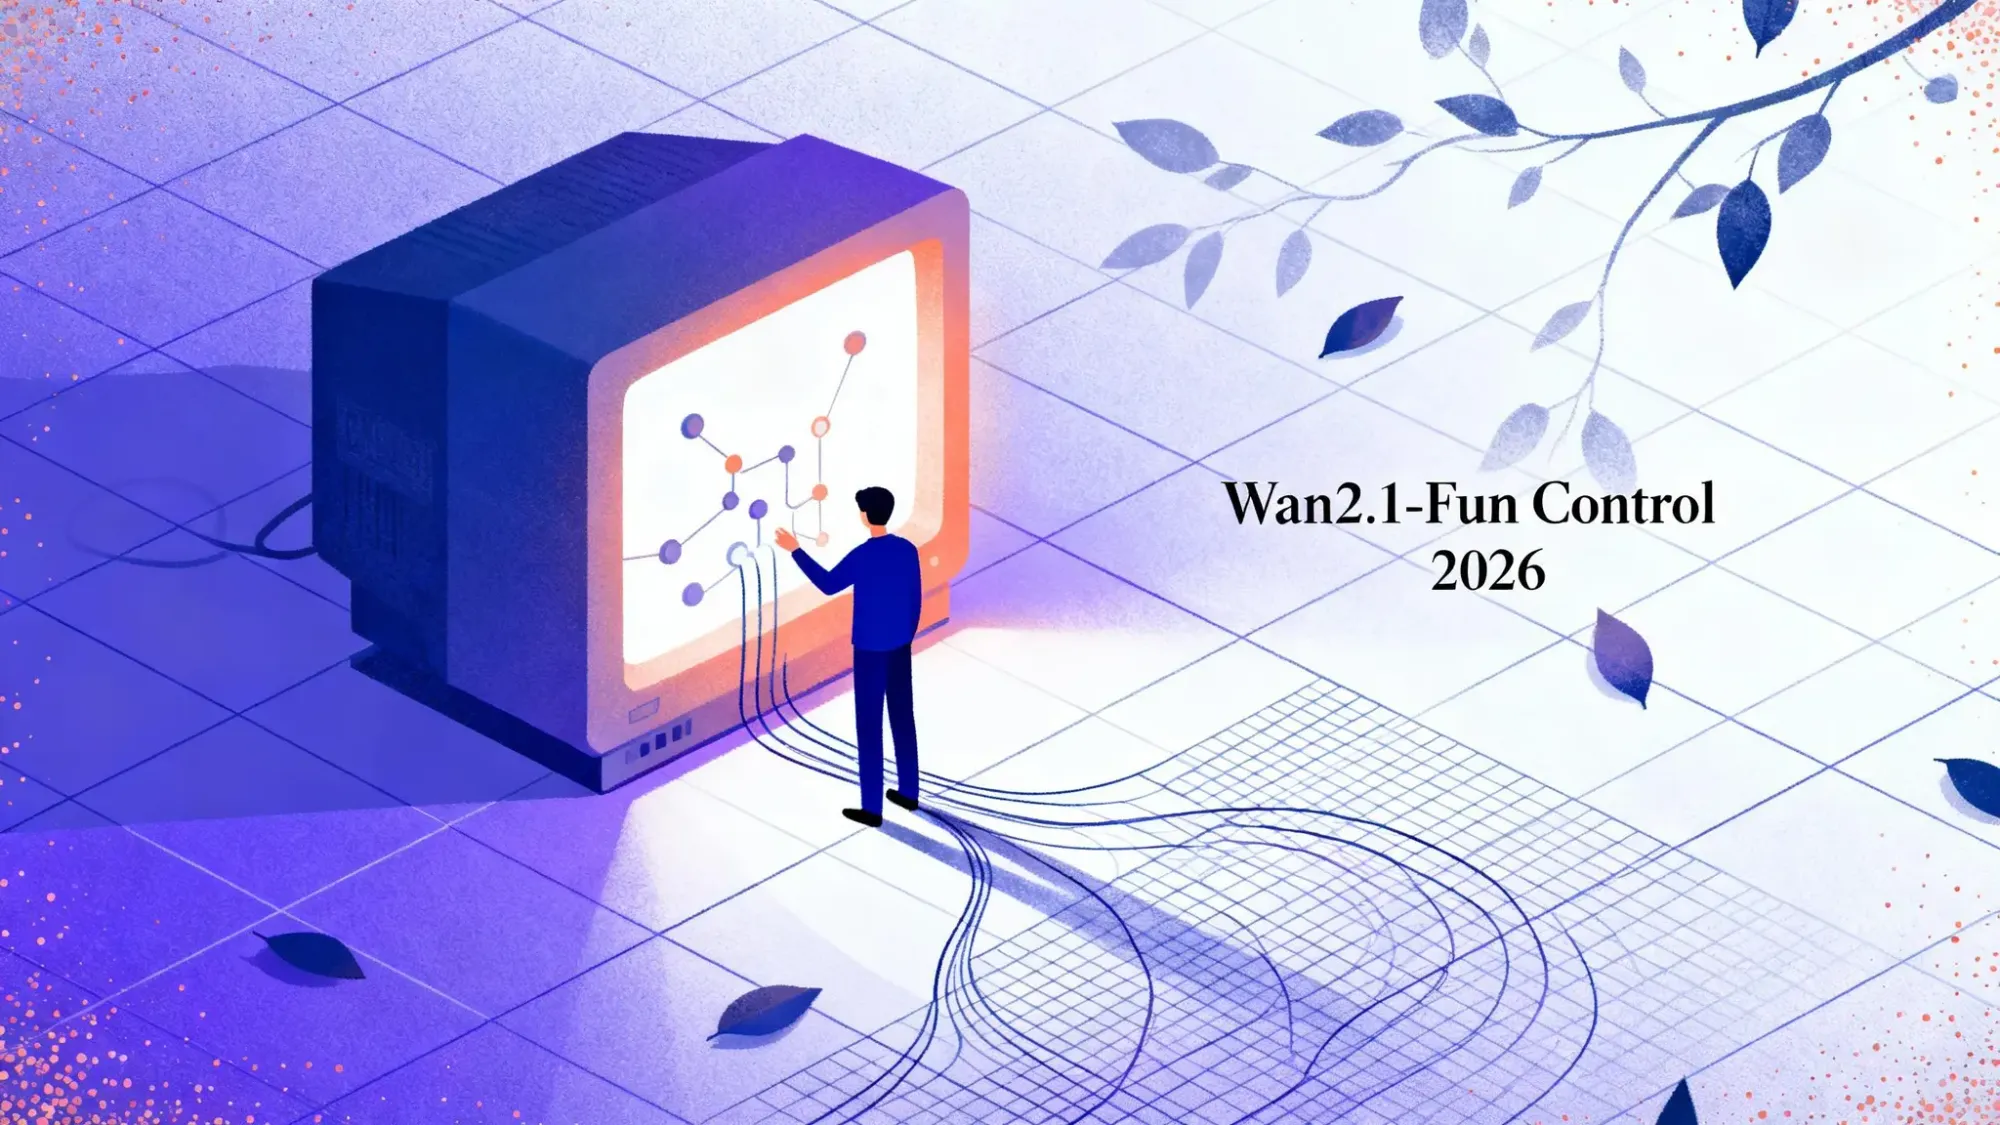
Wan2.1-Fun-1.3B Control: A Comprehensive Guide for Developers in 2026
Master Wan2.1-fun-1.3b-control for structured, controllable video generation. Learn ComfyUI workflows, model setup, and deployment options for reliable use.

What if your video generations followed your intent instead of drifting unpredictably?
As a developer or creator, you’ve likely seen how inconsistent motion and structure slow real production work. When video models lack control, minor prompt changes break scenes or distort motion. You end up rerunning generations, wasting compute, and fixing outputs that should have been usable from the start.
This problem becomes more serious when you build automated pipelines or user-facing applications. You need repeatable results, predictable motion, and outputs that fit downstream systems without manual correction.
This is where Wan2.1-Fun-1.3B control matters. It introduces structured control over video generation, allowing you to guide motion and composition across frames with consistency. Instead of relying on chance, you can generate video outputs that align with your workflow and creative intent.
In this guide, you’ll learn how it works and how to use it to build dependable, production-ready video generation pipelines.
Quick Snapshot
- The Wan2.1-Fun-1.3B control model uses multimodal control conditions like edges, depth, pose, and trajectories to generate predictable, structure-aware videos instead of relying on prompts alone.
- The 1.3B model balances quality and efficiency, making it suitable for local setups, faster iteration, and lower VRAM environments.
- It supports both fully native and enhanced ComfyUI workflows, letting you choose between maximum stability or improved control with minimal custom nodes.
- Apart from ComfyUI, it runs locally, via Docker, or on Alibaba Cloud PAI-DSW, giving you flexibility based on hardware, scale, and experimentation needs.
- It works well for marketing visuals, product demos, education, and creator content where consistency and repeatability matter.
Wan2.1-Fun Control Explained: Multimodal Video Control
Wan2.1-Fun Control is an open-source project for video generation and control developed by the Alibaba research team. It focuses on giving you precise control over how videos are generated, rather than relying on prompt-only guidance.
Instead of mindlessly generating motion, the model uses structured Control Codes, deep learning, and multimodal inputs. This allows you to guide video content using visual constraints like edges, depth, pose, and trajectories. As a result, generated videos follow predefined structures, motions, and compositions more reliably.
Wan2.1-Fun Control supports multi-language prompts and multi-resolution video prediction. You can generate videos at 512, 768, or 1024 resolution, with a fixed output rate of 16 frames per second, producing clips up to 81 frames, or roughly five seconds.
Supported Control Conditions
The Fun Control model supports multiple control conditions that let you shape video output at a structural level:
- Canny: guides video generation using line art-based outlines
- Depth: preserves spatial depth and scene geometry
- OpenPose: controls human posture and body movement
- MLSD: enforces geometric edges and architectural structure
- Trajectory control: defines motion paths across frames
Model Variants You Can Use
Wan2.1-Fun Control is available in two primary model sizes, designed for different deployment needs:
- 1.3B lightweight model: optimized for local deployment and faster inference with lower VRAM requirements. This guide focuses on this version.
- 14B high-performance model: delivers higher visual fidelity but requires over 32GB of VRAM, making it more suitable for enterprise or dedicated deployments.
Explore Wan2.1 Image-to-Video (720p) on Segmind.
Workflows Covered and Model Installation Requirements
We'll walk you through two practical ways to use Wan2.1-Fun Control in ComfyUI. Each workflow is designed for a different level of flexibility and customization, depending on how much control you need.
You’ll learn how to work with:
- ComfyUI native workflow: fully native and does not rely on third-party custom nodes
- Enhanced native workflow: an improved version that uses select custom nodes for better control
Before entering these workflows, you need to install the required models. You only have to do this once.
- All workflow images include model download references so that you can follow your preferred download method.
- If you’ve already used Wan-based workflows before, you may only need to download the diffusion model.
- The required models are available in Wan_2.1_ComfyUI_repackaged and Wan2.1-Fun repositories. Use the official links provided in those repositories to ensure compatibility.
Also Read: Wan 2.2 ComfyUI Setup with GGUF: Ultimate Guide and Tutorial
Once these models are installed, you’re ready to explore each workflow and start generating controlled video outputs using Wan2.1 fun control.
ComfyUI Native Workflow
This workflow uses only native ComfyUI nodes to avoid installation issues and environment conflicts. If you’ve faced problems installing custom nodes before, this approach gives you the most stable starting point.
Since the Load Image node does not support MP4 files, videos are converted to WebP format. The workflow also applies Canny Edge preprocessing to extract structural guidance from the original video.
Step 1: Download The Workflow And Inputs
Workflow File
Download the workflow image or the JSON file. Drag the image into ComfyUI, or load the JSON file to initialize the workflow automatically.
Input Images And Videos
Download the required input assets before running the workflow. These include the:
- starting frame image
- control video converted to WebP format
These files act as the visual conditions for video generation.
Step 2: Configure The Workflow
Before running the workflow, confirm that all required models are loaded correctly.
Ensure the following nodes reference the correct files:
- Load Diffusion Model:
wan2.1_fun_control_1.3B_bf16.safetensors - Load CLIP:
umt5_xxl_fp8_e4m3fn_scaled.safetensors - Load VAE:
wan_2.1_vae.safetensors - Load CLIP Vision:
clip_vision_h.safetensors
Next, upload your input assets:
- Upload the starting frame to the Load Image node, renamed as
Start_image - Upload the control video to the second Load Image node
You can then customize generation behavior:
- Optionally edit the prompt in the CLIP Text Encoder node. Prompts support both English and Chinese.
- Optionally adjust video dimensions in the WanFunControlToVideo node.
Avoid setting very large dimensions at first, as this significantly increases sampling time.
Step 3: Run Video Generation
Once everything is set, start generation by clicking Run or using Ctrl (Cmd) + Enter.
For best results:
- Start with smaller resolutions, then upscale if needed.
- Ensure the requested frame count does not exceed the control video length.
- Exceeding available frames may cause uncontrolled scenes.
You can expand this workflow by adding text-to-image or image-to-video nodes. This allows you to build text-to-video generation or style transfer pipelines using Wan2.1-fun-1.3b-control.
Adjusted Wan2.1-Fun Control Native Workflow
The fully native workflow works reliably, but the calculations for video size and frame count can feel limiting. This adjusted version improves usability by introducing a small number of trusted custom nodes, while keeping the workflow stable and straightforward. This approach helps you manage video dimensions, frame counts, and preprocessing more efficiently.
Required Custom Nodes
Before loading the workflow, ensure the following custom node packages are installed. You can install them manually or use ComfyUI-Manager after loading the workflow.
- ComfyUI-KJNodes: used for adjusting video size and retrieving frame counts
- ComfyUI-comfyui_controlnet_aux: used for video image preprocessing
Step 1: Download The Workflow And Inputs
Workflow File
Download the workflow image and drag it into ComfyUI. The workflow loads automatically and prompts for any required model downloads.
Input Video And Image
Download the required input image and video. These assets act as the start frame and control conditions for generation.
Step 2: Execute The Workflow
If you’ve already run the fully native workflow, the model setup remains the same. You can reuse the same models and focus only on the input configuration.
Follow these steps to run the workflow:
- Upload the start frame image in the Load Image node.
- Upload the control video in the second Load Video (Upload) node
- Select a preprocessor in the AIO Aux Preprocessor node. The required model downloads automatically on first run.
- Adjust dimensions using the Resize Image nodes. Ensure both resize nodes use matching values.
- Once configured, click Run or use Ctrl (Cmd) + Enter to generate the video.
Practical Tips For Better Results
This adjusted workflow supports several advanced capabilities:
- MP4 videos are supported through Load Video (Upload).
- Video metadata helps maintain consistent FPS in the output.
- You can replace DWPose Estimator with other preprocessors.
For more advanced control:
- Combine multiple preprocessors and merge them using Image Blend.
- Save MP4 outputs using Video Combine from ComfyUI-VideoHelperSuite.
- Generate a small video first, such as 320×320, and reuse it as a control input.
- In the WanFunControlToVideo node, the control video is optional. You can skip it during early testing and add it later for consistent results.
Also Read: Top 10 Open Source AI Models for Image and Video Generation
Alternate Ways To Run Wan2.1-Fun Control
If the local setup feels restrictive due to hardware limitations or environmental constraints, you can run WAN-based workflows in the cloud. These options are helpful when you need faster setup, temporary GPU access, or higher VRAM.
Option 1: Run On Alibaba Cloud Using PAI-DSW
Alibaba Cloud provides PAI-DSW (Data Science Workshop), which lets you launch GPU environments quickly without manual setup. DSW offers free GPU credits that you can apply for once. These credits remain valid for three months after approval, making them ideal for testing and experimentation.
Once your DSW instance is active, you can run Wan projects directly inside the notebook or workspace environment.
Option 2: Run Using Docker
Docker is a good choice if you want a reproducible environment across machines. Before starting, ensure your system has a compatible GPU driver and CUDA (Compute Unified Device Architecture) installed.
Step 1: Pull The Docker Image
docker pull mybigpai-public-registry.cn-beijing.cr.aliyuncs.com/easycv/torch_cuda:cogvideox_fun
Step 2: Enter Image
docker run -it -p 7860:7860 --network host --gpus all \
--security-opt seccomp:unconfined --shm-size 200g \
mybigpai-public-registry.cn-beijing.cr.aliyuncs.com/easycv/torch_cuda:cogvideox_fun
Step 3: Clone The Repository
git clone https://github.com/aigc-apps/CogVideoX-Fun.git
Step 4: Enter Model Directories
cd CogVideoX-FunStep 5: Download Model Weights
Use either Hugging Face or ModelScope to download the required models.
mkdir models/Diffusion_Transformer
mkdir models/Personalized_Model
CogVideoX-Fun models:
- Hugging Face: alibaba-pai/CogVideoX-Fun-V1.1-5b-InP
- ModelScope: PAI/CogVideoX-Fun-V1.1-5b-InP
Wan models:
- Hugging Face: alibaba-pai/Wan2.1-Fun-14B-InP
- ModelScope: PAI/Wan2.1-Fun-14B-InP
Once downloaded, place the weights into the appropriate directories and start your workflow.
Also Read: Text-to-Image Workflow Comparison: ComfyUI vs Pixelflow
Where Wan2.1-Fun Control Fits In Real-World Workflows
Once your workflow is stable, Wan2.1-fun-1.3b-control fits naturally into a wide range of production and experimentation scenarios. Its strength lies in predictable motion, structural consistency, and controllable outputs.
- Film and animation previsualization: You can prototype camera motion, character poses, and scene transitions before committing to full production. Control conditions such as pose, depth, and trajectory help validate the creative direction early.
- Marketing and creative automation: You can generate short product clips, background loops, or campaign visuals with consistent framing. Controlled edges and depth make outputs easier to reuse across multiple formats and channels.
- Creator and social media content: You can produce stylized reels, motion loops, or animated scenes that maintain visual coherence. This reduces manual editing while keeping outputs aligned with your creative intent.
- Game development and virtual worlds: You can animate concept art, test character movement, or preview environment motion. Pose and trajectory control help prototype gameplay visuals faster.
- Education and technical demonstrations: You can turn complex ideas into structured visual explanations. Controlled motion ensures sequences remain clear and easy to follow across frames.
- Product demos and UI motion design: You can create interface motion previews, feature walkthroughs, or launch teasers. Predictable frame-to-frame behavior makes outputs suitable for real product workflows.
Final Thoughts
Controlled video generation only becomes useful when it fits into real workflows. Wan2.1-fun-1.3b-control gives you predictable motion and structure, but how you deploy it determines how much value you get.
On Segmind, you can combine Wan 2.1 with other video, image, and preprocessing models inside PixelFlow. This lets you design workflows that handle control signals, generation, and post-processing in a single pipeline. You can test quickly, iterate safely, and move toward production without managing local infrastructure.
Start exploring 500+ top AI models on Segmind.
FAQs
1. Why do control videos matter in this workflow?
Control videos provide explicit structural signals (edges, poses, motion paths) that help the model preserve frame continuity and minimize flicker. Text-only models often struggle to maintain this.
2. How do preprocessors like Depth or OpenPose improve video outputs?
Preprocessors transform your source footage into visual guidance maps that inject semantic and spatial cues into the generation process, improving motion alignment and coherence.
3. Can I mix control conditions (e.g., Canny + Depth) in one generation?
Yes, multiple control maps can be combined (for example, via blending nodes) so the model follows layered constraints. This approach often yields more refined results than single-condition setups.
4. Is it possible to run Wan2.1-Fun Control workflows on consumer GPUs?
Yes, the 1.3B version has relatively modest VRAM requirements and can run on mainstream GPUs if configured with correct precision (e.g., fp8) and node optimization.
5. What’s the best way to upscale resolution after initial tests?
Start with smaller inference dimensions, validate the control signals, then use external upscaling workflows or Pixelflow steps. That will help you boost the final resolution without overburdening the initial sampling.