Fine-tune Stable Diffusion XL on Your Own Photos with DreamBooth LoRA (Step-by-Step Guide)
Learn how to fine-tune SDXL on your own photos and create custom models that generate images of your desired styles.

Imagine having your own magical AI artist who can bring any picture you think of to life with just a few words. Well, that dream is getting closer thanks to Stable Diffusion XL (SDXL) and a clever trick called Dreambooth. Forget about boring AI art – picture turning your favorite photos into a special key that opens the door to a world of personalized creations. That's the amazing part of using Dreambooth with SDXL, that lets you be a co-creator, shaping the very heart of AI art.
No need to stick with what pre-made models offer. With Dreambooth, you add your own style and creative touch to SDXL. It's like teaching a blank canvas to paint in your own way, understand your ideas, and be an extension of your creativity.
Whether you're someone who's been tinkering with AI Image models for a while or just starting out, this guide is for you
Pre-requisites:
Before we dive into fine-tuning SDXL with Dreambooth, let's gather our tools. You'll need a computer* with a GPU (15GB+ VRAM recommended) and Hugging Face account and some familiarity with Python. Don't worry if you're a newcomer – we'll provide all the guidance and resources you need.
*Free version of Google Collab is also sufficient for this tutorial.
Preparing your dataset:
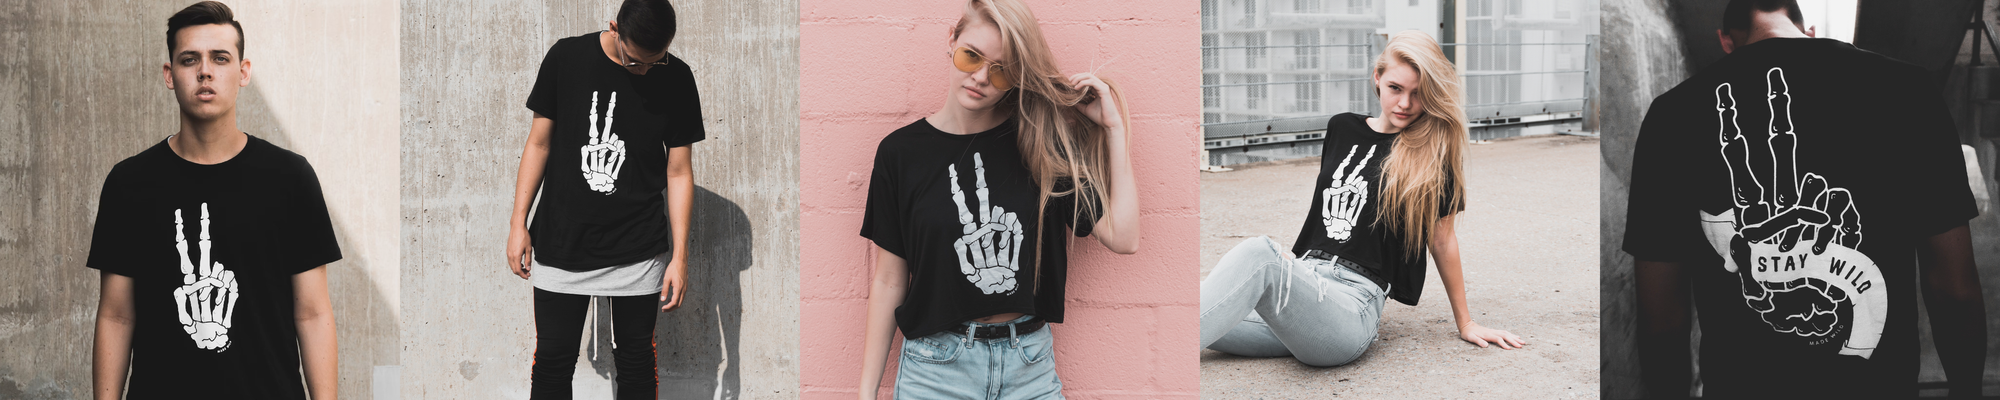
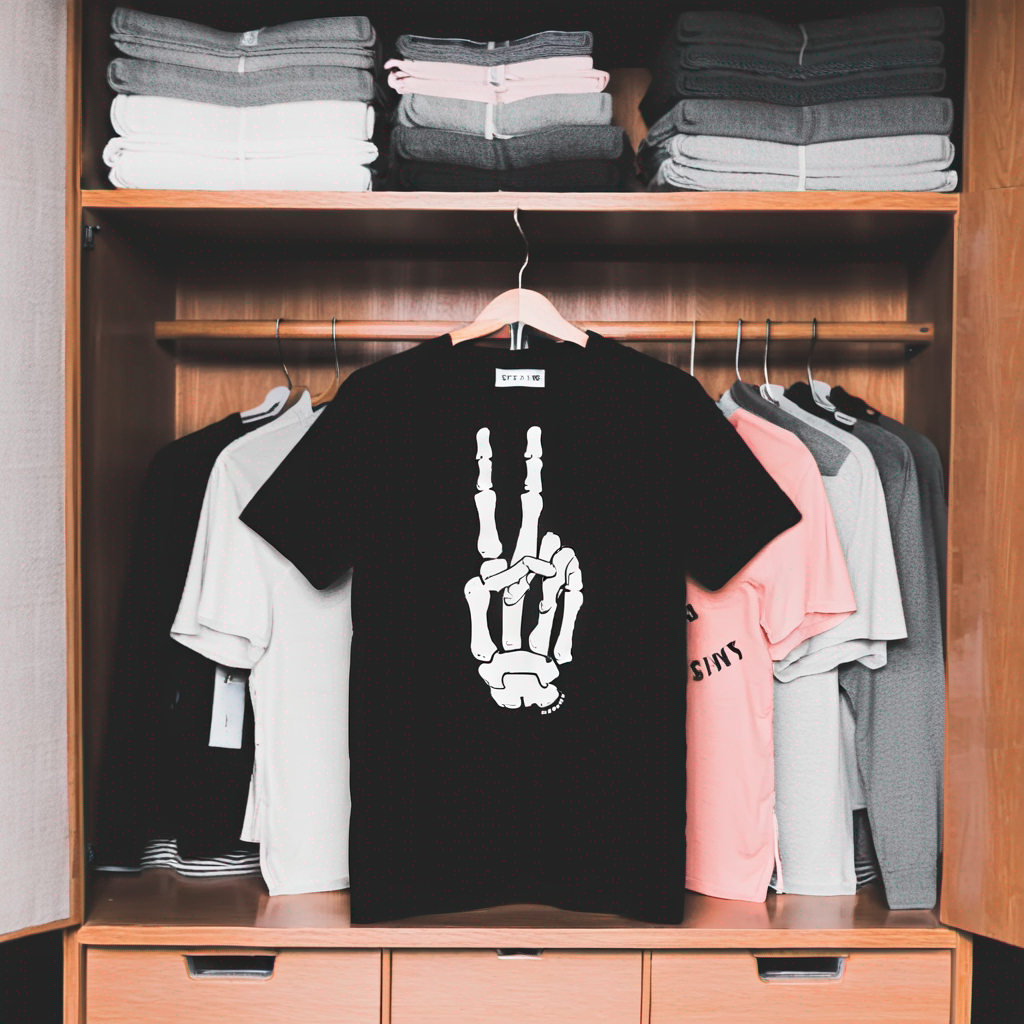
Collect the images which you are going to finetune SDXL on, for this tutorial we are going to finetune it on 5 images of a shirt which has this unique design.
Ensure the images are properly cropped and are in 1024 x 1024 size, you can use a free tool like Birme to resize images in bulk.
Finetune via Dreambooth:
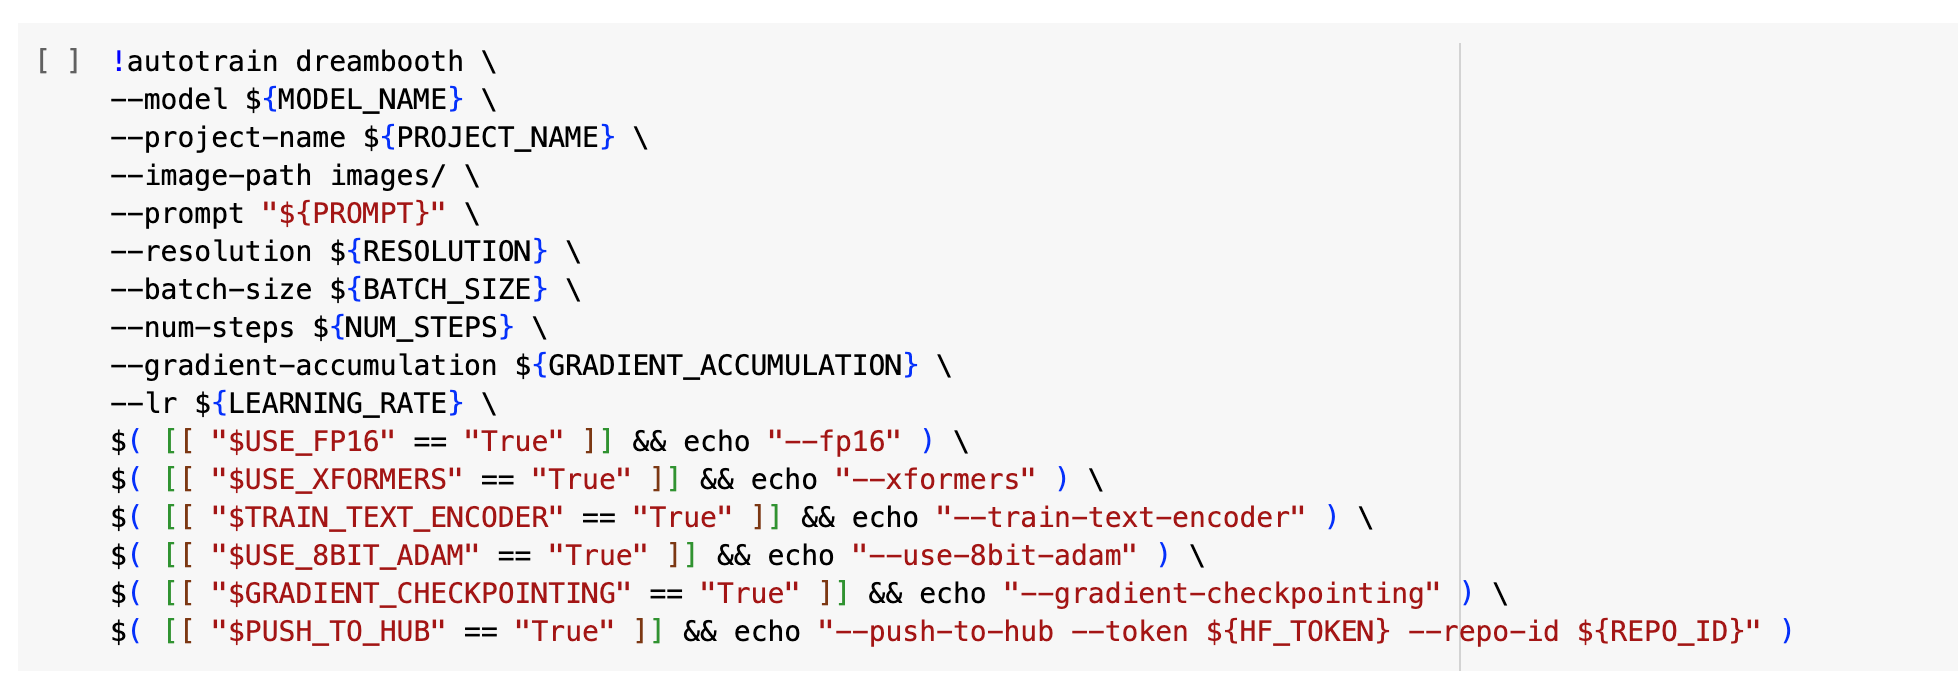
We will be using Autotrain library for Dreambooth, it makes it easy to finetune models with just a single line of code.
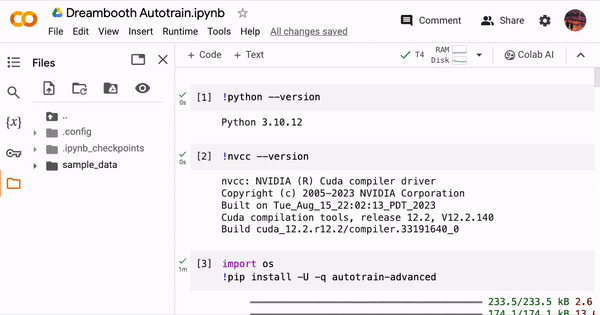
Follow this collab notebook provided for the rest of the tutorial.
- By running this cell, you will be installing the autotrain library

- Next create a folder named as "images" and upload all your training images inside that folder by right clicking it and then clicking "Upload"
In the form so provided on Collab, you need to change the value of project_name, prompt, hf_token and repo_id to your values.
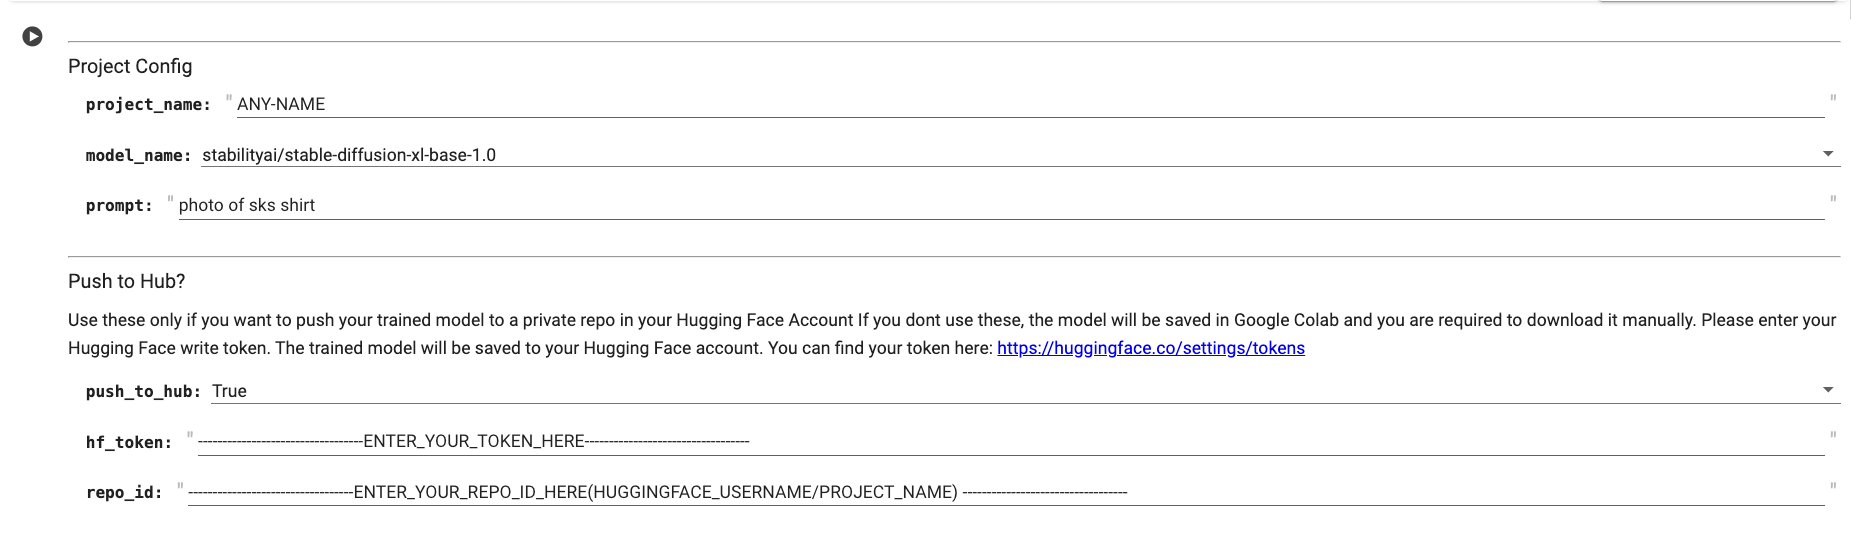
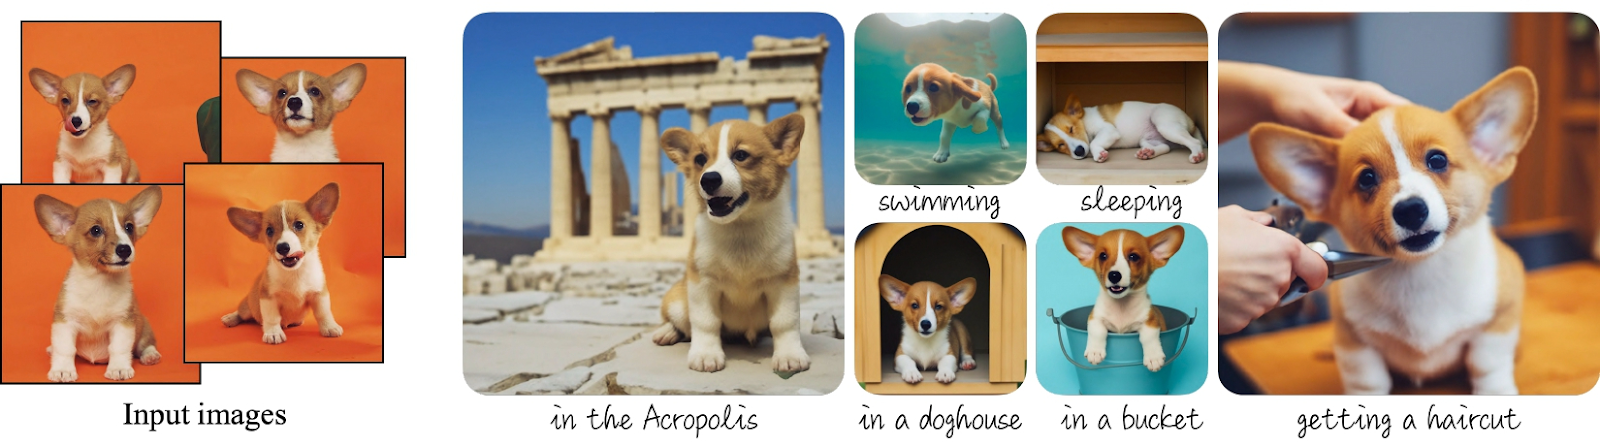
The prompt can be something which you are training images on, for example, if you're training DreamBooth with pictures of your dog, the prompt could be "photo of sks dog." Keep it short and simple. Adding the word "sks" makes it unique. This helps when you want the system to create images of your dog, like "photo of sks dog on beach." It ensures better results because the system can specifically associate your dog with the added "sks," unlike if you used a more general prompt like "photo of dog."
For HuggingFace token you can get one here (Ensure you create a write-access token).
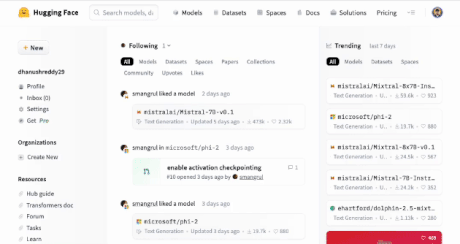
Also Create a model on HuggingFace as shown below
*Ensure you filled the values of project_name, prompt, hf_token and repo_id before running the next cell
- Now run this cell and let it train for 1-2 hours
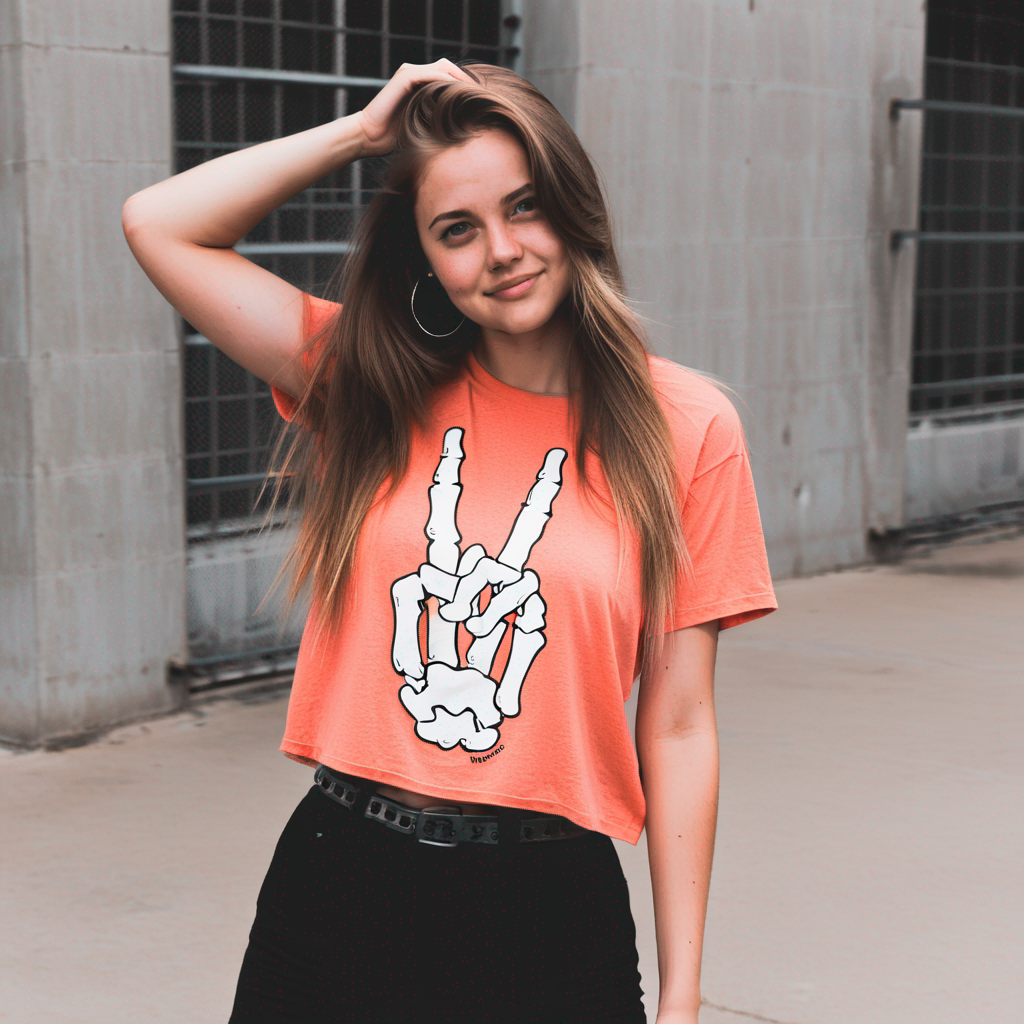
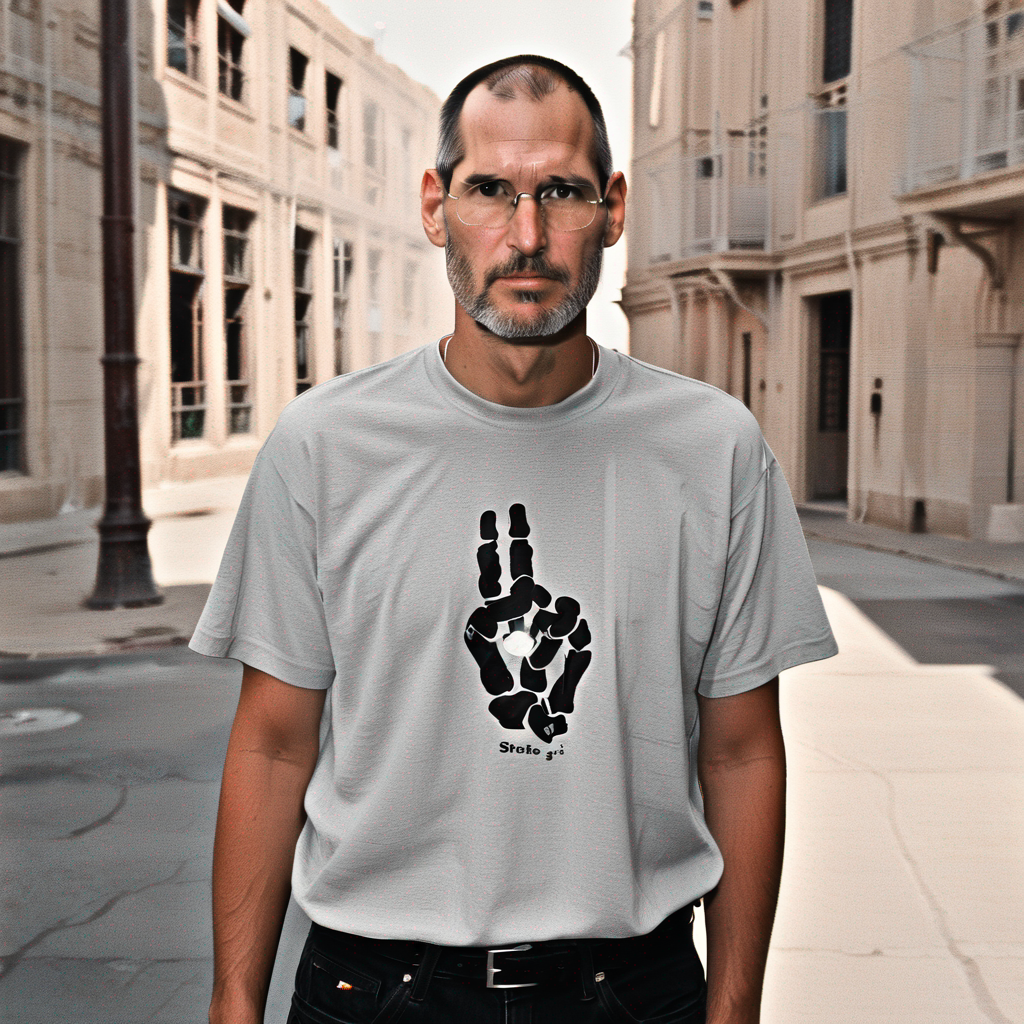
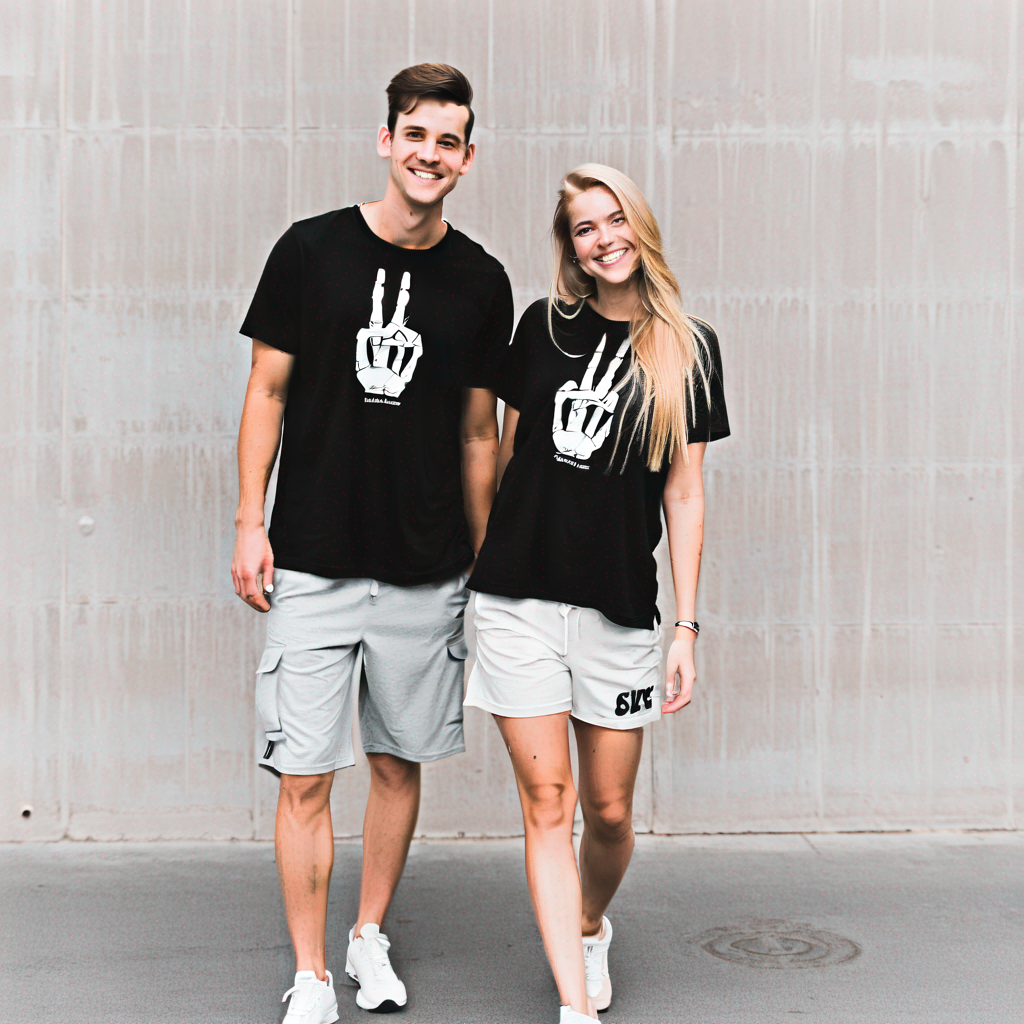
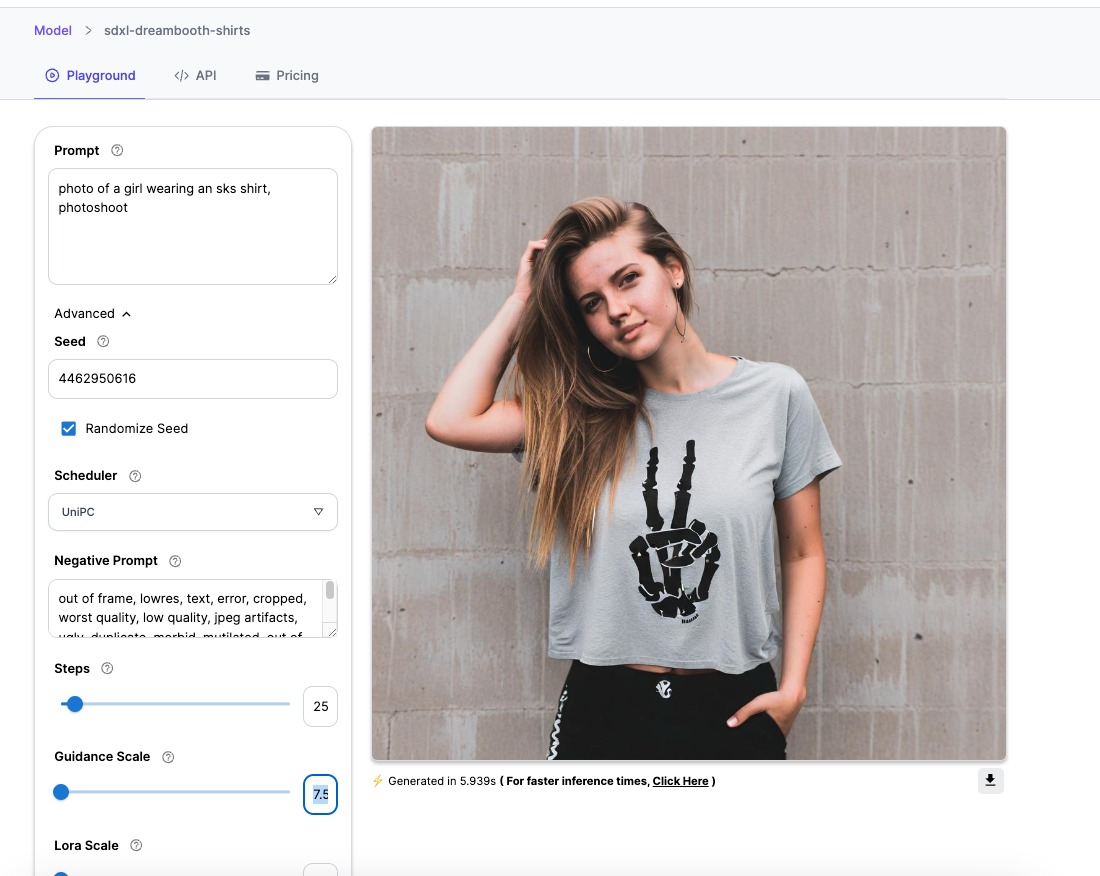
After training you can run inference code and check how the model was trained.
Some of our outputs which we got after training are:

Deploy your Trained model as an API on Segmind:
If you want to deploy your finetuned model on segmind.com as an API which you can use in your applications, follow this:
- Go to your Segmind Model Hub
- Click on import new model and provide the huggingface link of your model it should be like this: https://huggingface.com/YOUR_USERNAME/YOUR_PROJECT_NAME.
- Chose the Base model as SDXL as that is what we trained on, offcourse change it if you trained with different base model such as SD.15 or SD2.1.
- Enter any default prompt and click Import, the model will be imported in 2-3 minutes.
- We deployed our model here
- You can even run your trained model on segmind instead of the API
You can find a detailed guide on integrating our API's here: Stable Diffusion XL 1.0 API Guide
Conclusion
In this tutorial, we delved into the fine-tuning process of SDXL using the DreamBooth technique using AutoTrain library for customized image generation. With a mere five photos as our training dataset, we accomplished the successful training of SDXL. This enables the model to generate a variety of images featuring the shirt in different and creative scenarios.