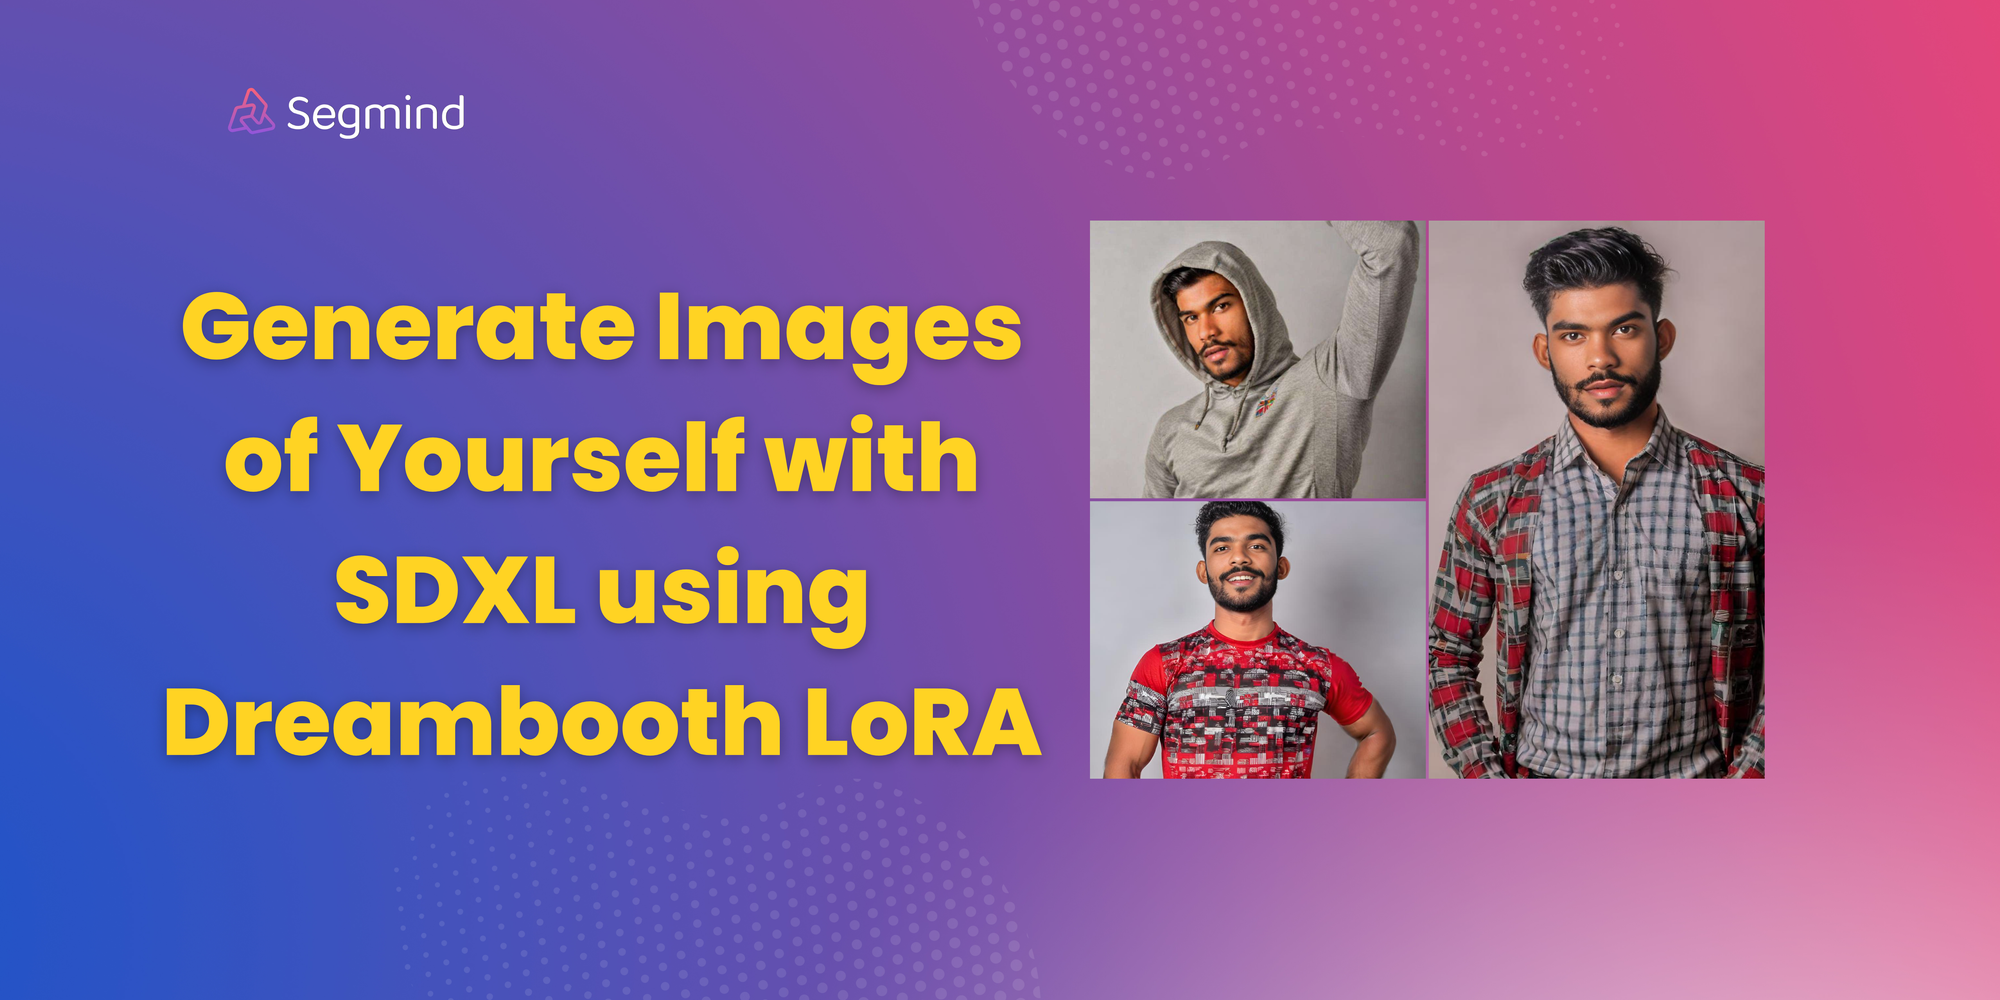
Dreambooth LoRA: How to Generate Images of Yourself with SDXL
Learn how you can generate your own images with SDXL using Segmind's Dreambooth LoRA fine tuning pipeline. Create your personalized images or profile pictures for social media & professional platforms.

In this blog post, we will explore the process of generating images of yourself using the Segmind Dreambooth LoRA fine-tuning pipeline. This pipeline is specifically designed for anyone who want to create images of themselves using Stable Diffusion XL (SDXL). SDXL is known for its high-quality, high-resolution image generation capabilities, and this pipeline leverages Dreambooth and LoRA to fine-tune it for personalized results. You can create your personalised pictures that accurately reflect your personality, style, and identity, whether it's for social media or professional platforms.
Inside the Dreambooth LoRA Fine-tuning Pipeline
The Dreambooth LoRA fine-tuning pipeline is a two-step process. Let's break down these steps:
1. Dreambooth Training on Base SDXL
The first step involves Dreambooth training on the base SDXL model.Dreambooth allows for deep personalization by fine-tuning the model with a small set of images, enabling the generation of highly specific content that captures the subtleties of the chosen subject, and in this case, it is used to fine-tune the base SDXL model for personalized image generation. This step is crucial for ensuring that the generated images capture the desired style and characteristics.
2. Extracting LoRA from the Trained Dreambooth Checkpoint
Once Dreambooth training is complete, the pipeline proceeds to extract LoRA (Latent Optimization and Rendering Architecture) from the trained Dreambooth checkpoint. LoRA is a key component that enables high-quality image generation and customization. To achieve this, the pipeline utilizes the "kohya_ss" repository, which plays a vital role in the extraction process.
How to Use the Dreambooth LoRA Pipeline
Using the Dreambooth LoRA fine-tuning pipeline is straightforward, and here are the steps to get started:
1. Select a Theme
You can choose a "theme" for their images, such as "man" or "woman." This theme selection helps guide the fine-tuning process to generate images that align with the chosen gender identity. Your instance prompt can be a unique word such as " sks". For example the word "sks" acts as a unique identifier for the subject in the image. Instance prompt helps in generating images that accurately represent unique aspects of subject, differentiating it from generic images.

2. Upload Your Images
You need to upload a zip folder with a set of 10-20 of your own images. If you upload more than 20 images, in that case only 20 images from the dataset will be used for training. You can upload images of any size, as they will be automatically resized to 1024x1024 during the processing. However, it's advisable to upload images of 1024x1024 or higher with 1:1 aspect ratio for the best results. You can use a free tool like Birme to resize images in bulk.

3. Start Training
Once the images and theme are selected, you can initiate the training process with default settings. The pipeline will handle the Dreambooth training, LoRA extraction, and other necessary steps in the background.

4. Receive Sample Image and Safetensors File
After the training is complete which usually lasts for 2 to 3 hours, you will receive a sample image that showcases the personalized image generation capabilities of the pipeline. Additionally, a safetensors file will be provided which will expire after 24 hours.

Settings for Best Results
The default settings provided for the pipeline are optimized and we recommed using the same.
| Parameter Name | Significance | Default Value |
|---|---|---|
| Resolution | Defines image size and quality; higher resolution for more detailed images. | 1024x1024 px |
| Repeats | Determines how many times the model will go through the dataset for training. | 80 |
| Learning Rate | Influences the speed and quality of learning; crucial for model's adaptation. | 0.0001 |
| LR Scheduler | Dictates how the learning rate changes over time; affects convergence speed. | Constant |
| Optimizer Type | Selects the algorithm for optimizing the learning process. | Adafactor |
| Number of Training Epochs | Sets how many complete passes the model makes over the entire dataset. | 1 |
| Gradient Accumulation Steps | Balances between training efficiency and memory usage; higher value for larger batches. | 4 |
| LoRA Rank | Determines the complexity of model adjustment; affects efficiency and precision. | 128 |
| Noise Offset | Adds variability to the training process; can help in generalization. | 0 |
| Max Gradient Norm | Prevents excessively large updates to weights, ensuring stable training. | 0 |
| Weight Decay | Reduces overfitting by penalizing large weights; improves model generalization. | 0.01 |
SDXL Fine-tuning Example

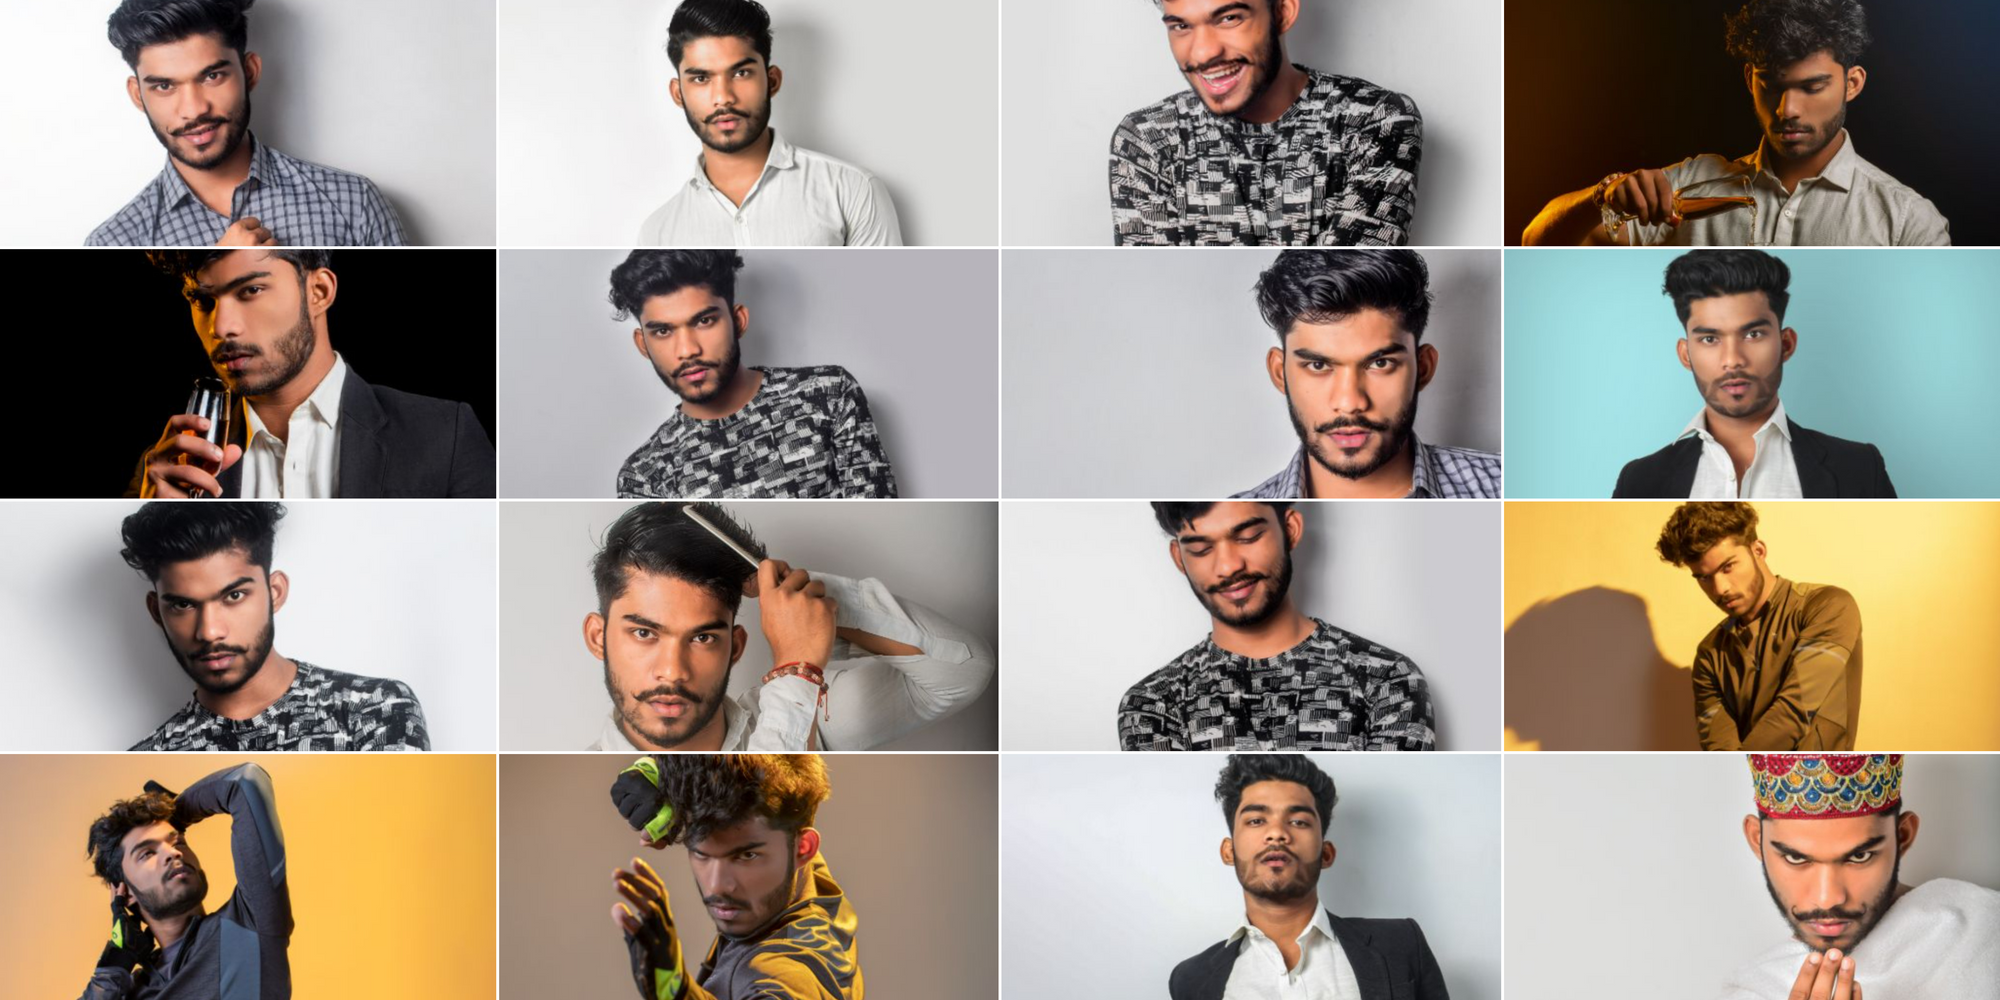
In this Dreambooth LoRA training example, the Stable Diffusion XL model was fine-tuned on approximately 20 images (1024X1024 px) of an Indian male model. We used default settings for training. The training took about 3 hours. The model weights are saved as a safetensors file, providing compatibility and safety. The safetensors file was a little over 750 MB. After training, the model's capability to generate new images based on the learned theme was demonstrated through inferences. This showcases Dreambooth LoRA's pipeline effectiveness in customizing a large-scale model such as SDXL for specific image types.
Inferences
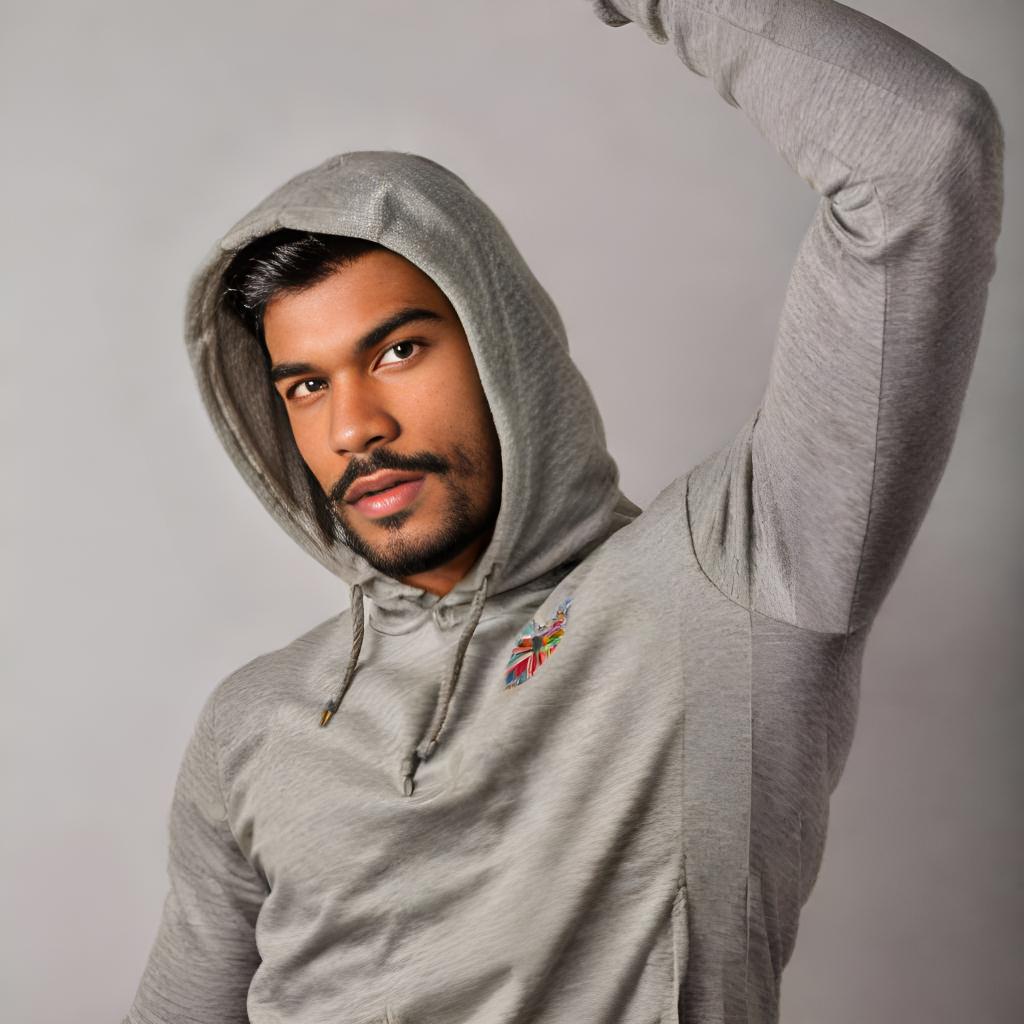
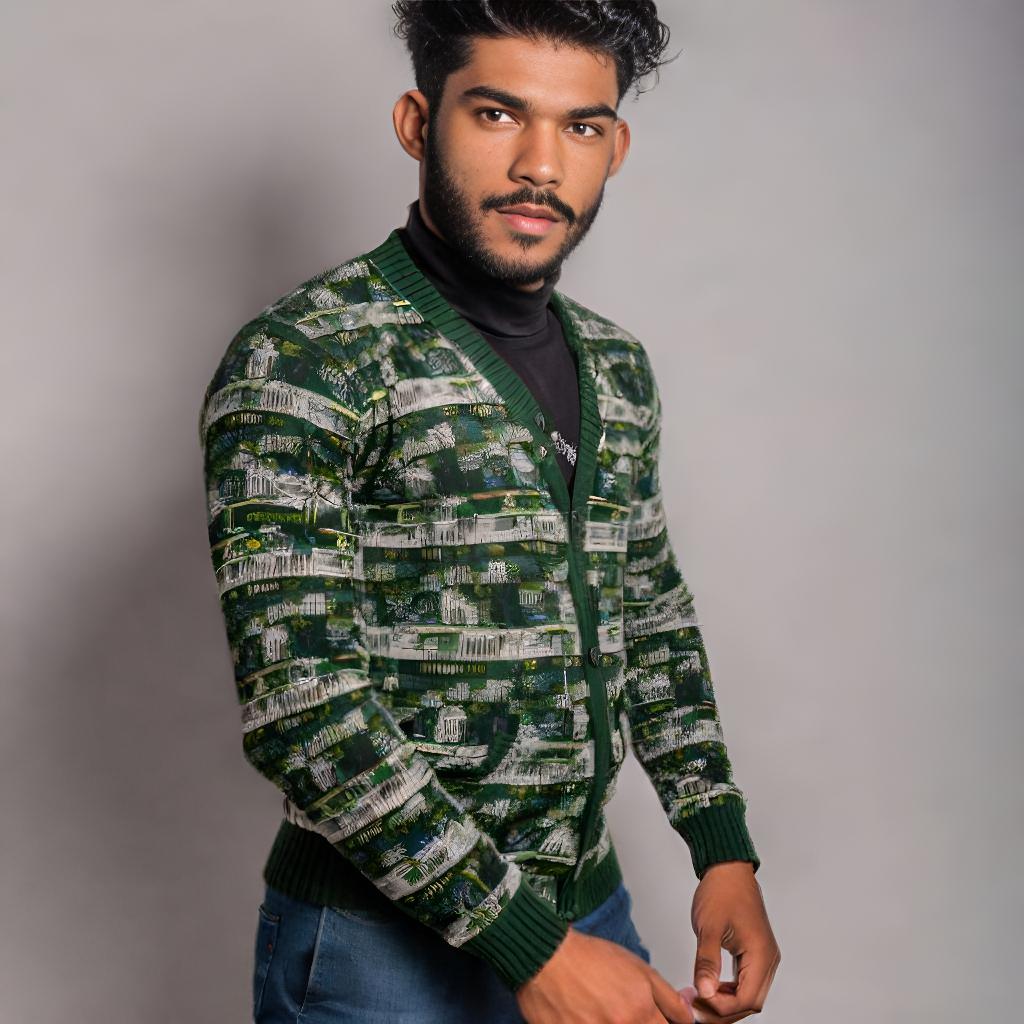
The safetensor file of the fine-tuned model (Indian-man) was uploaded to Huggingface, and the LoRA model was then imported to Segmind for inferencing on the model playground. Try prompts like "A photo of yvd man wearing a red t-shirt", "A photo of yvd man wearing a cardigan" and so on. The generated images were upscaled with Codeformer for additional sharpness.


