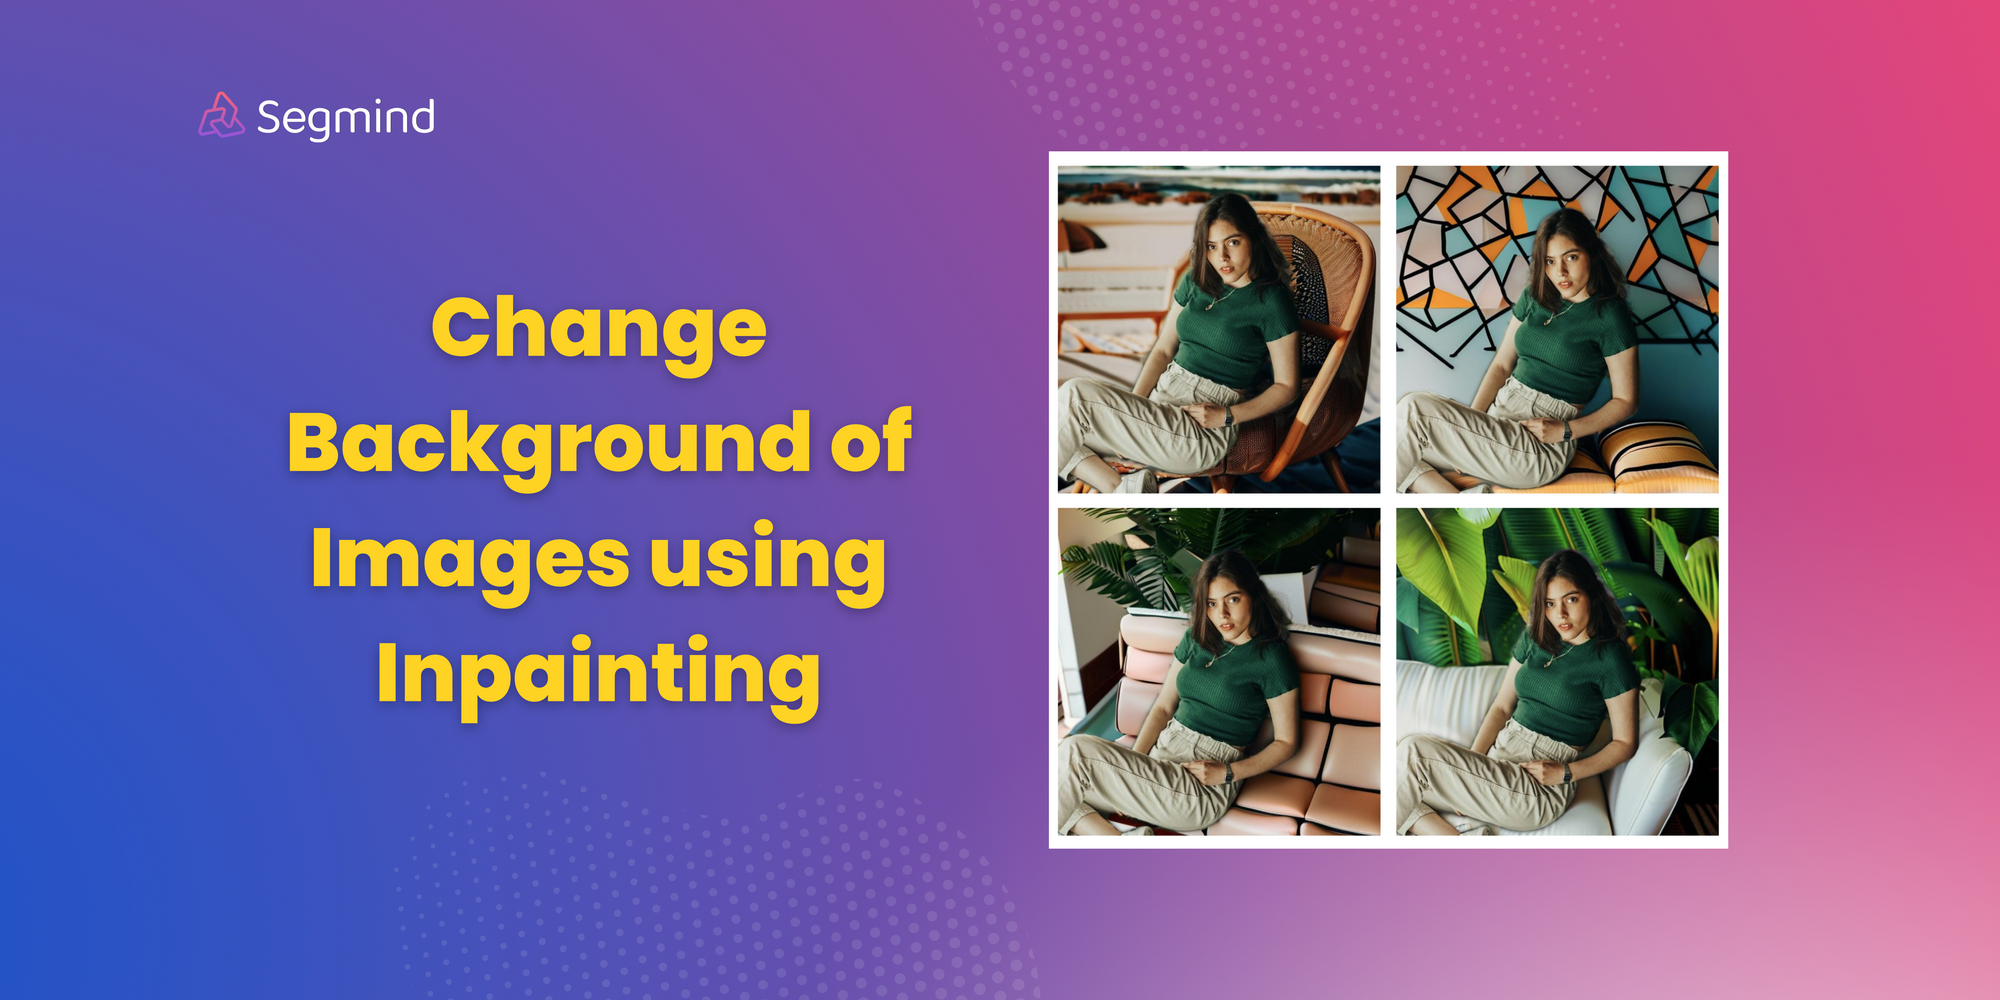
Change Background of Images like a Pro using ControlNet Inpainting
Dive into the world of AI-powered image manipulation with our guide to building a background replacement app using Gradio. This blog post will take you step-by-step through leveraging ControlNet Inpainting to seamlessly alter image backgrounds.

Embarking on your journey into the world of machine learning applications doesn't have to be daunting. In this tutorial, we'll guide you through the creation of your first interactive application using Gradio, a powerful library designed to simplify the deployment of machine learning models. Together, we'll build a beginner-friendly app that showcases the seamless integration of Gradio with Segmind's Controlnet Inpainting API. Through this hands-on experience, you'll not only learn the fundamentals of Gradio but also witness the immediate impact it can have on deploying sophisticated models in a user-friendly manner. Let's dive in and unlock the potential of interactive machine learning with Gradio!
Building a Background Replacement App with Gradio

In the expansive realm of machine learning, bridging the gap between powerful models and user-friendly applications has always been a challenge. This is where Gradio steps in, offering a seamless solution to transform your machine learning models into interactive applications with minimal effort.
Gradio stands out as a game-changer, providing a user-friendly interface that allows developers and data scientists to deploy and share their models effortlessly. Whether you're a seasoned professional or just stepping into the world of machine learning, Gradio's simplicity and versatility make it an ideal tool for crafting interactive applications.
At its core, Gradio excels in abstracting away the complexities of web development and model deployment. It simplifies the process of building graphical user interfaces (GUIs) for your machine learning models, enabling you to create applications that anyone can use without needing an in-depth understanding of the underlying algorithms.
Key Features of Gradio
- Blocks System:
Gradio's unique Blocks system allows you to organize your UI elements seamlessly. It simplifies the structuring of your application, making it intuitive and easy to understand. - Wide Input Support:
Gradio supports various input types, from textboxes to image upload widgets, making it versatile enough to handle a wide range of use cases. - Dynamic Interactivity:
One of Gradio's standout features is its ability to make your applications dynamic and interactive. Elements can dynamically update based on user input, providing a responsive and engaging user experience.
Setting up the environment:
You would need to have python installed as a prerequisite.
We just need three libraries for the tutorial Pillow, gradio and requests
pip install -q Pillow gradio requestsBefore we start our background replacement app, lets make the very basic Hello World equivalent of Gradio.
Hello World App in Gradio
import gradio as gr

def greet(name):
    greeting = f"Hello, {name}"
    return greeting

iface = gr.Interface(fn=greet, inputs="text", outputs="text")
iface.launch()
This code defines a simple greet function that takes a name as input and returns a greeting string. The Gradio interface is then created using the gr.Interface class, specifying the input as text and the output as text.
You can tinker with this Google Collab to start with
Background Replacement App
Now lets start writing the gradio code for background replacement app
Code Walkthrough
In case if you are here just for the final code you can scroll to the bottom to find the entire merged code.
Importing Necessary Libraries
The initial step involves importing the required libraries. gradio, Pillow and requests are crucial for building our application.
import gradio as gr
import requests
from PIL import Image
from io import BytesIO
from base64 import b64encode
Utility Functions for Image Processing
These small utility functions are responsible for converting an image from either a URL or an uploaded file to a base64 format.
def urlToB64(imgUrl):
    return str(b64encode(requests.get(imgUrl).content))[2:-1]

def imageToB64(img):
    buffered = BytesIO()
    img.save(buffered, format="JPEG")
    return str(b64encode(buffered.getvalue()))[2:-1]
There is one more function which we use to change the input method in Gradio depeding on the format of the image to be given as input
def invertBox(upload_method):
    if upload_method == "URL":
        return gr.update(visible=True), gr.update(visible=False)
    else:
        return gr.update(visible=False), gr.update(visible=True)
Main Image Generation Function
This function is the main part of the gradio app, handling the interaction with the Segmind's Controlnet Inpainting API and generating the output image.
def generate_image(
    upload_method,
    img_url,
    uploaded_img,
    prompt,
    negative_prompt,
    cn_model,
    cn_processor,
    base_model
):
    if upload_method == "URL":
        if not img_url:
            raise ValueError("Image URL is required.")
        img_b64 = urlToB64(img_url)
    else:
        if not uploaded_img:
            raise ValueError("Image upload is required.")
        img_b64 = imageToB64(uploaded_img)

    data = {
        "image": img_b64,
        "prompt": prompt,
        "negative_prompt": negative_prompt,
        "samples": 1,
        "base_model": base_model,
        "cn_model": cn_model,
        "cn_processor": cn_processor,
        "scheduler": "DPM++ 2M SDE Karras",
        "num_inference_steps": 25,
        "guidance_scale": 7.5,
        "seed": -1,
        "strength": 0.9,
        "base64": False,
    }
    response = requests.post(url, json=data, headers={"x-api-key": api_key})
    output_img = Image.open(BytesIO(response.content))

    return output_img
Function Parameters:
upload_method: A string representing the chosen method for uploading the image ("URL" or "Upload").img_url: A string containing the URL of the image (used whenupload_methodis "URL").uploaded_img: An image object (PIL Image) uploaded by the user (used whenupload_methodis "Upload").prompt: A string containing the user-provided prompt for image generation.negative_prompt: A string containing negative prompts provided by the user.cn_model: A string representing the chosen controlnet model for background replacement.cn_processor: A string representing the chosen controlnet processor for background replacement.base_model: A string containing the Stable Diffusion Model to use for the background generation via Controlnet Inpainting.
Gradio UI Setup
with gr.Blocks() as demo:
    gr.Markdown("### Photo Background Changer")
    gr.Markdown(
        "Change the background of the image in one click to anything that you can imagine"
    )
    with gr.Row():
        upload_method = gr.Radio(
            choices=["URL", "Upload"], label="Choose Image Upload Method", value="URL"
        )
        img_url = gr.Textbox(label="Image URL")
        uploaded_img = gr.Image(type="pil", label="Upload Image", visible=False)
        upload_method.change(
            invertBox, inputs=upload_method, outputs=[img_url, uploaded_img]
        )
    with gr.Row():
        prompt = gr.Textbox(label="Prompt")
        negative_prompt = gr.Textbox(
            label="Negative Prompt",
            value="disfigured, deformed, ugly, floating in air, blur, haze, uneven edges, improper blending, animated, cartoon",
        )
    with gr.Row():
        cn_model = gr.Dropdown(
            label="Select cn_model",
            choices=["Canny", "Depth", "SoftEdge", "OpenPose"],
            value="Depth",
        )
        cn_processor = gr.Dropdown(
            label="Select cn_processor",
            choices=[
                "canny",
                "depth",
                "depth_leres",
                "depth_leres++",
                "hed",
                "hed_safe",
                "mediapipe_face",
                "mlsd",
                "normal_map",
                "openpose",
                "openpose_hand",
                "openpose_face",
                "openpose_faceonly",
                "openpose_full",
                "dw_openpose_full",
                "animal_openpose",
                "clip_vision",
                "revision_clipvision",
                "revision_ignore_prompt",
                "ip-adapter_clip_sd15",
                "ip-adapter_clip_sdxl_plus_vith",
                "ip-adapter_clip_sdxl",
                "color",
                "pidinet",
                "pidinet_safe",
                "pidinet_sketch",
                "pidinet_scribble",
                "scribble_xdog",
                "scribble_hed",
                "segmentation",
                "threshold",
                "depth_zoe",
                "normal_bae",
                "oneformer_coco",
                "oneformer_ade20k",
                "lineart",
                "lineart_coarse",
                "lineart_anime",
                "lineart_standard",
                "shuffle",
                "tile_resample",
                "invert",
                "lineart_anime_denoise",
                "reference_only",
                "reference_adain",
                "reference_adain+attn",
                "inpaint",
                "inpaint_only",
                "inpaint_only+lama",
                "tile_colorfix",
                "tile_colorfix+sharp",
                "recolor_luminance",
                "recolor_intensity",
                "blur_gaussian",
                "anime_face_segment",
            ],
            value="canny",
        )
    with gr.Row():
    	base_model = gr.Dropdown(
            label="Select Base SD Model to use",
            choices=["Real Vision XL", "SDXL", "Juggernaut XL", "DreamShaper XL"],
            value="Juggernaut XL",
        )
    with gr.Row():
        generate_btn = gr.Button("Generate Image")
    output_image = gr.Image(type="pil")

    generate_btn.click(
        fn=generate_image,
        inputs=[
            upload_method,
            img_url,
            uploaded_img,
            prompt,
            negative_prompt,
            cn_model,
            cn_processor,
            base_model
        ],
        outputs=[output_image],
    )
Let's break down this section of the code step by step
Gradio Blocks Setup:
with gr.Blocks() as demo:gr.Blocks(): This is a Gradio container that allows you to organize UI elements in a structured manner.with gr.Blocks() as demo:: This creates a block nameddemowithin which we'll organize our UI elements.
Title and Description:
gr.Markdown("### Photo Background Changer")- This line uses the
Markdownelement to display a formatted heading, indicating that the application is a "Photo Background Changer."
gr.Markdown(
        "Change the background of the image in one click to anything that you can imagine"
)- Another
Markdownelement displaying a description or tagline for the application
The rest of the code are just dropdown and input boxes which are required. prompt, negative_prompt, cn_model (Controlnet Model), cn_processor (Controlnet Processor) and base_model
Here is the entire code as a Google Collab for your reference
We also provided code for you to deploy your gradio app to HuggingFace Spaces.
Just follow the collab and fill in your HuggingFace username and write access token to deploy it to your account.
We deployed our gradio app here
Conclusion
Congratulations on successfully creating your first Gradio application for interactive machine learning! Throughout this tutorial, we've explored the simplicity and power that Gradio and Stable Diffsuion Inpainting brings to the table, enabling you to build a Background Replacement app with ease.
Gradio's intuitive Blocks system allowed us to structure the user interface effortlessly, while its diverse set of elements empowered users to interact seamlessly with the application. The dynamic visibility settings and event handling capabilities showcased the flexibility that Gradio offers, making it an ideal choice for both beginners and experienced developers.
By integrating the Controlnet Inpainting API, we extended our application's capabilities, demonstrating how Gradio can seamlessly integrate with external services. The generate_image function acted as the engine behind the scenes, handling the intricacies of data processing and API communication.
As you move forward on your machine learning journey, remember that Gradio is a valuable tool that can simplify the deployment of your models and enhance user experiences. We encourage you to experiment further with Gradio, exploring its additional features and pushing the boundaries of what you can create. Feel free to adapt this application, add new elements, or integrate different models to tailor it to your specific needs. We also have a lot of other cool API's that you can tinker with.
We hope this tutorial has provided you with valuable insights and a solid foundation for your future projects. Keep coding, experimenting, and building amazing applications with Gradio and Segmind API's!