Best Inpainting Tools: Remove Objects & Fix Photo Flaws
Unwanted objects ruining your photos? Learn how AI-powered image masking tools work their magic! This blog dives deep into image masking techniques, applications, and its role in seamless object removal and image inpainting.

Ever wondered how AI-based object removal tools works its magic or how you can seamlessly erase unwanted details from an image? The answer lies in image masking. In this blog, we will delve into the intricacies of image masking, exploring its techniques and applications. Additionally, this blog will explore how mask generation is essential in inpainting, enhancing the quality and appearance of images. We will also review the best inpainting tools available on Segmind.
* Get $0.50 daily free credits on Segmind.

What is a Mask Generation?
Mask generation is a technique used in image processing to identify and isolate specific parts of an image. Think of it as creating a stencil or cutout that highlights certain areas while ignoring others. This "mask" can then be used to perform various tasks, such as removing backgrounds, editing specific parts of an image, or even replacing unwanted elements. Segmind’s Mask Generation models streamlines this process. First, we need to pinpoint the location of the object for which we want to generate a mask. The more precisely we identify the object's location, the better the resulting mask will be.
Models based on Mask Generation
Let's examine some models that utilize mask generation at their core.
Automatic Mask Generator
- The Automatic Mask Generator model is based on Grounded SAM (Grounding DINO and Segment Anything Model) generates very precise and high-quality masks using the above explained method.
- Grounding DINO pinpoints the location of the object of interest in the input image.
- SAM, then, segments the targeted object and we get a high-quality binary mask of the object.
- This model is essential in an elaborate inpainting pipeline for generating masks, enabling selective editing to achieve superior results in repairing, enhancing, or replacing objects within images.
- These masks ensure precise targeting of areas needing restoration or modification, enhancing the overall quality and accuracy of the inpainting process.
Magic Eraser
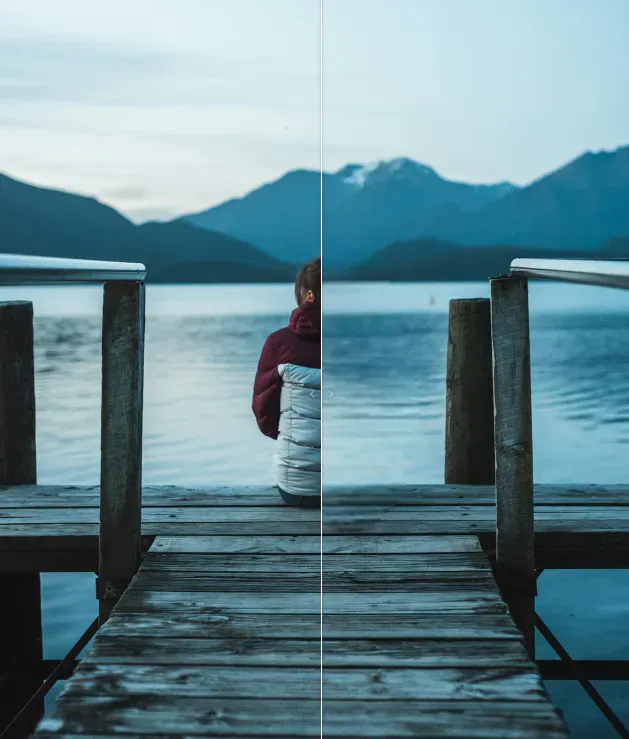
- The Magic Eraser tool revolutionizes photo editing by seamlessly removing large unwanted areas while preserving crisp, realistic details.
- It is powered by LaMa (Resolution-robust Large Mask Inpainting) and it excels at handling extensive inpainting tasks. This capability is enhanced through a sophisticated receptive field perceptual loss and the utilization of expansive training masks, ensuring a flawless, natural appearance.
- Equipped with generative fill which replaces the erased part with realistic details relevant to the image.
- It works exceptionally well on high-resolution images without generating blurriness to replace the inpainted parts.
Inpaint Mask Maker
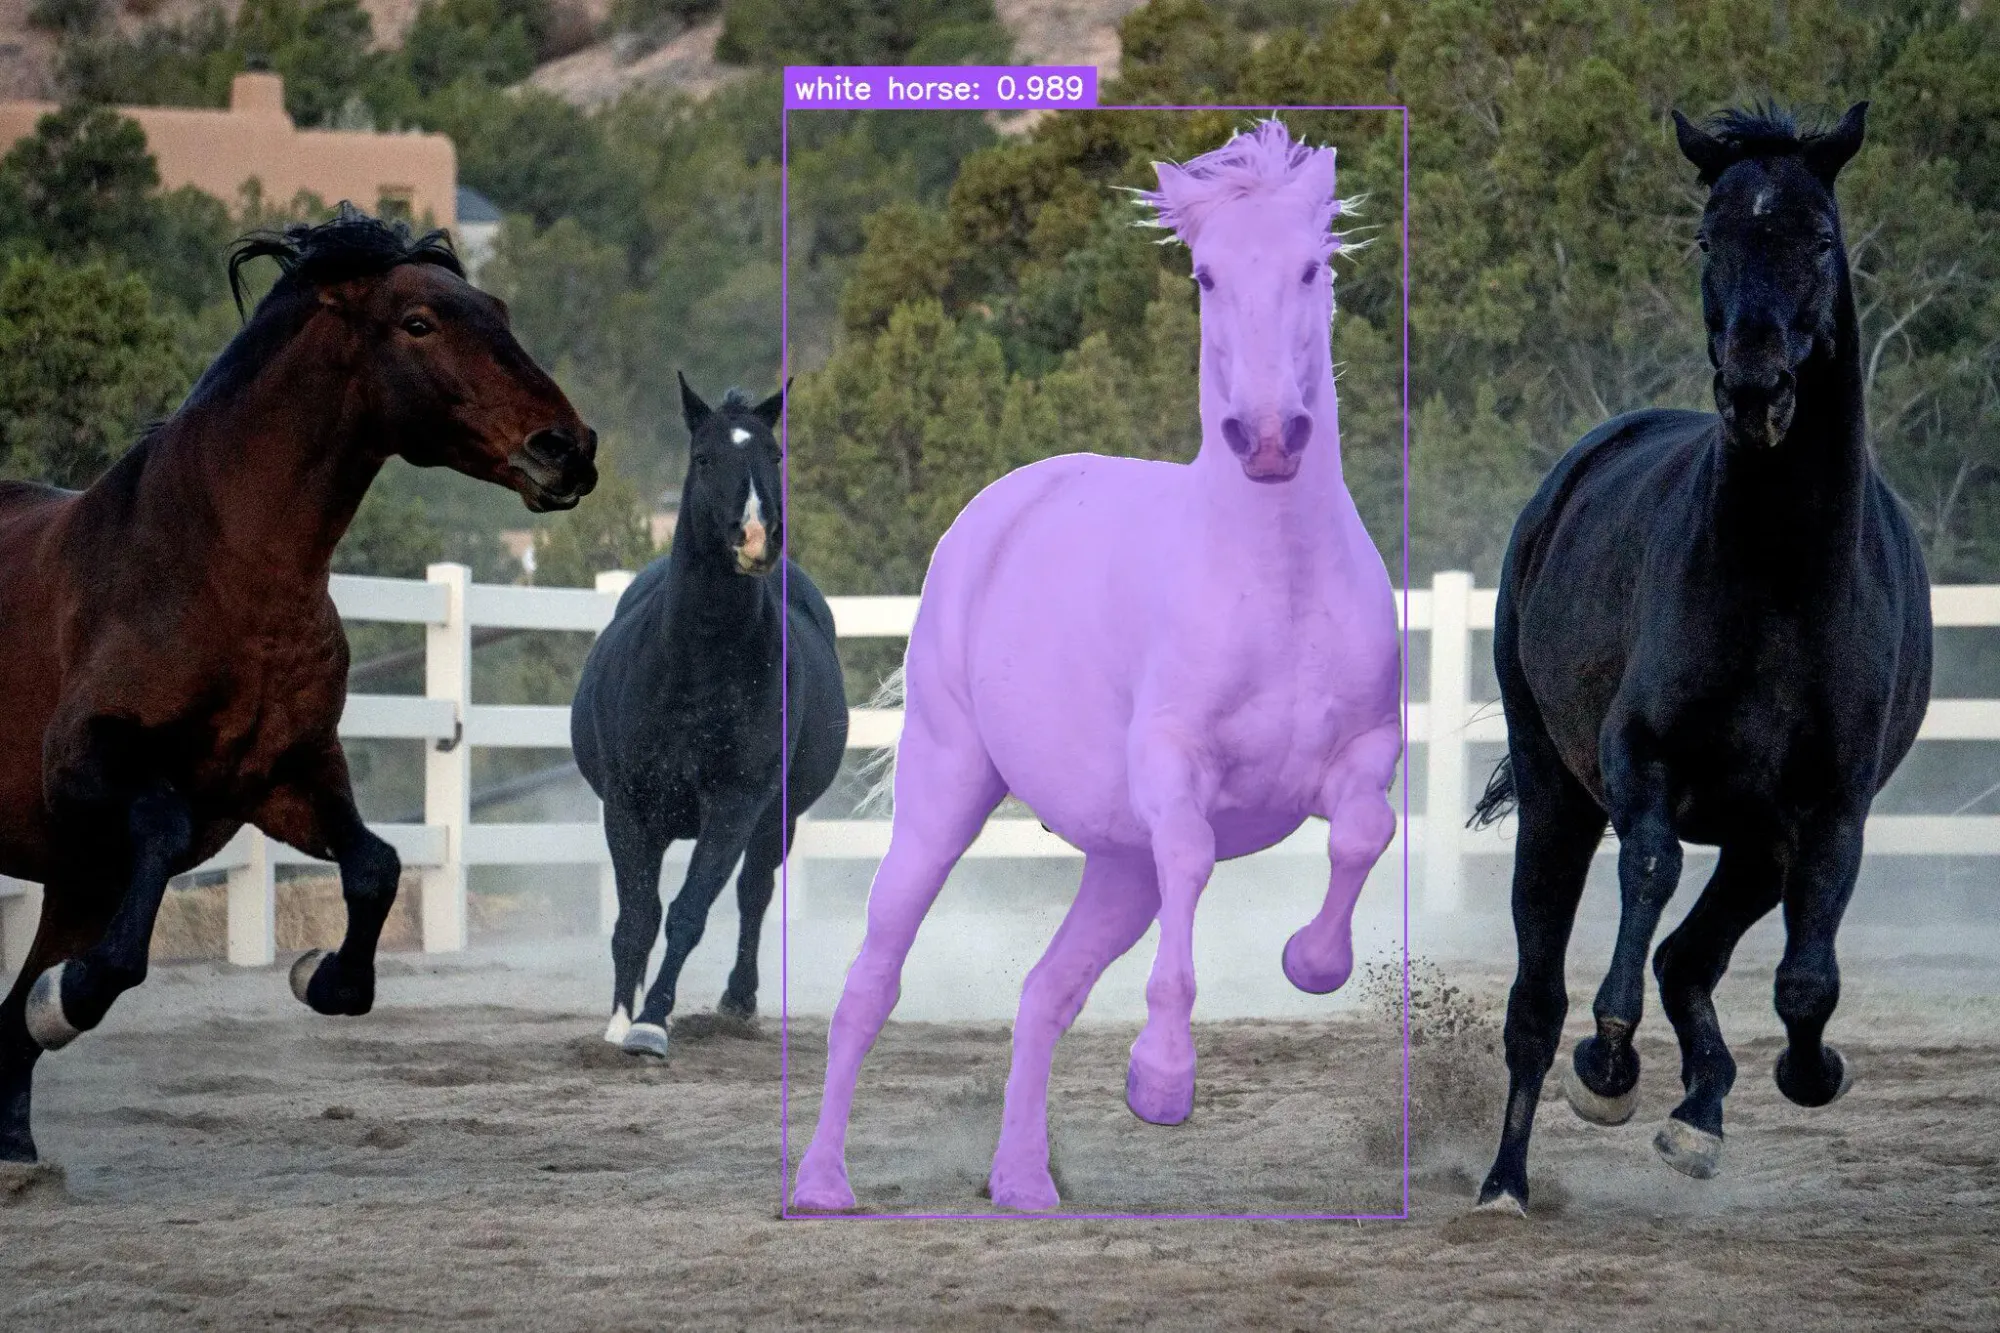
- The Inpaint Mask Maker model works the same as Automatic Mask Generator. However this model is based on YOLO (You Only Look Once) model.
- YOLO is a very popular object detection model which classifies objects within an input image by dividing the image into a grid and predicting bounding boxes and class probabilities for each grid cell.
- Then SAM segments the image classified and located by the YOLO model and generates a top-notch mask.
Background Eraser
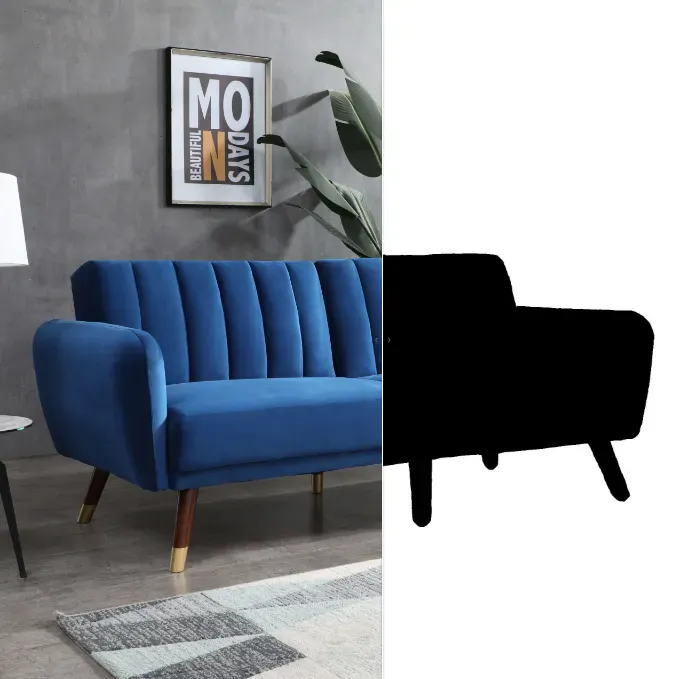
The Background Eraser model is a prime example of where mask generation is effectively utilized but there is a catch. Here the object in focus is not masked but the background is. Remember the part which is supposed to be altered is the mask and is in white. This model also is able to reverse the mask for suitable use cases.
Inpaint Brush Tool
With our user-friendly Inpainting tool, creating a mask image becomes a straightforward and efficient process, allowing for precise control over the areas of your image you wish to modify or enhance.
Inpaint brush: Mask the area of the image you want to be altered using inpaint brush. You can adjust the stroke width of this brush to suit the size of the area you need to mask. A larger stroke width covers more area, making it faster to mask large sections, while a smaller width allows for more precision and is ideal for detailed work.
Mask the Image: Use the brush to paint over the areas of the image you want to alter or remove. As you paint, these areas will be marked, typically shown in a contrasting color to the image (often white or another easily visible color).
Use Undo if Necessary: If you accidentally mask a part of the image you didn't intend to, use the 'Undo' feature. This allows you to revert the last action(s) and correct any mistakes, ensuring that only the desired areas are masked.
Extract the Mask: Once you are satisfied with the masked areas, you can extract the mask. Upon extraction, the masked areas (the parts you painted over) will typically appear white, indicating that they are the regions to be inpainted. The unmasked areas (the parts of the image you want to keep) will appear black.