How To Upscale Kling 1.6 Videos To 4K: A Step-By-Step Guide
Learn how to upscale your Kling 1.6 videos to 4K with easy steps. Get tips for creating professional quality videos that look great on any screen.
You need high-quality videos that look sharp on every screen. Getting there with Kling 1.6 videos used to mean spending hours trying different settings and tools. Not anymore.
Video quality matters more than ever. Social media platforms prefer higher resolution content with better reach. Your 1080p videos might look great on phones, but they get blurry on 4K TVs and monitors. Upscaling Kling 1.6 videos to 4K gives you the crisp, clear quality viewers expect.
Getting professional 4K results from Kling 1.6 videos is simpler than you think. This guide shows you exactly how to upscale your videos to 4K resolution while keeping the original style and details intact.
Why Upscale Kling 1.6 Videos To 4K?
4K resolution gives your videos 4 times more detail than 1080p. This means sharper edges, clearer textures, and better depth that viewers can see. When you upscale Kling 1.6 videos to 4K, small details like text and faces stay clear even on large screens.
Your videos need to look good everywhere—from phones to smart TVs. 4K videos automatically adjust to look great on any screen size. Even when viewers watch on 1080p displays, 4K source videos look noticeably better than regular HD. The extra resolution helps your content stand out, especially in full-screen mode.
4K is rapidly becoming the standard for video content. Major streaming platforms now prefer 4K videos in their algorithms. Viewers spend more time watching 4K content compared to lower resolutions. By upscaling to 4K now, you ensure your Kling 1.6 videos stay relevant and engaging.
The latest video platforms use AI to process 4K videos differently. They can extract more information from higher resolution videos to create better thumbnails and preview frames. This helps your content get discovered more easily. The platforms also use these high-quality previews to recommend your videos to more viewers.
Now that you know why 4K matters, let’s look at the tools you’ll need to get started.
What Do You Need To Get Started?
Segmind makes working with AI video models simple. You get instant access to popular models like Kling 1.6 and advanced 4K upscalers through a single API. No need to deal with complex setups or manage different model versions.
The platform's PixelFlow feature turns video processing into a visual workflow. You can drag and drop video processing steps, adjust settings with sliders, and see real-time previews of your changes. This means faster results without writing code or managing command line tools.
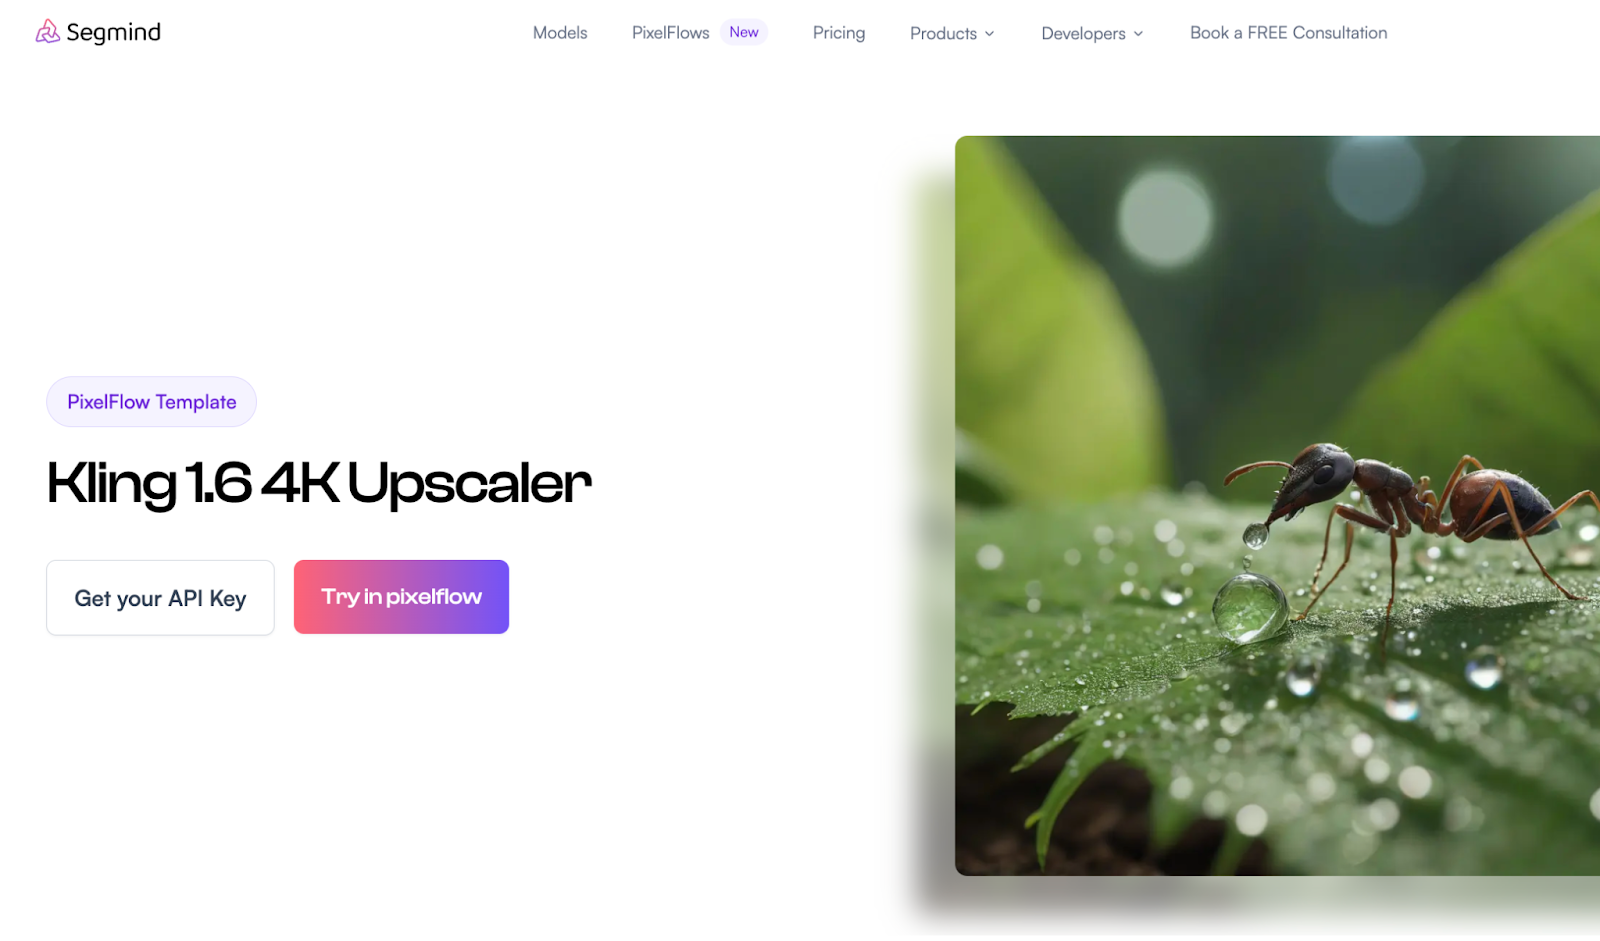
The Kling 1.6 4K Upscaler template on PixelFlow comes preset with optimal settings. You can start with these defaults that work well for most videos. The template includes fine-tuned parameters for preserving Kling's unique style while adding 4K detail.
With your tools ready, let's walk through the exact process. Here's how to turn your Kling 1.6 videos into high-quality 4K content.
Step-By-Step Guide To Creating And Upscaling Kling 1.6 Videos
Getting started takes just a few clicks. The process works with any Kling 1.6 video output, whether it's a short clip or a longer sequence. Here's exactly what you need to do:
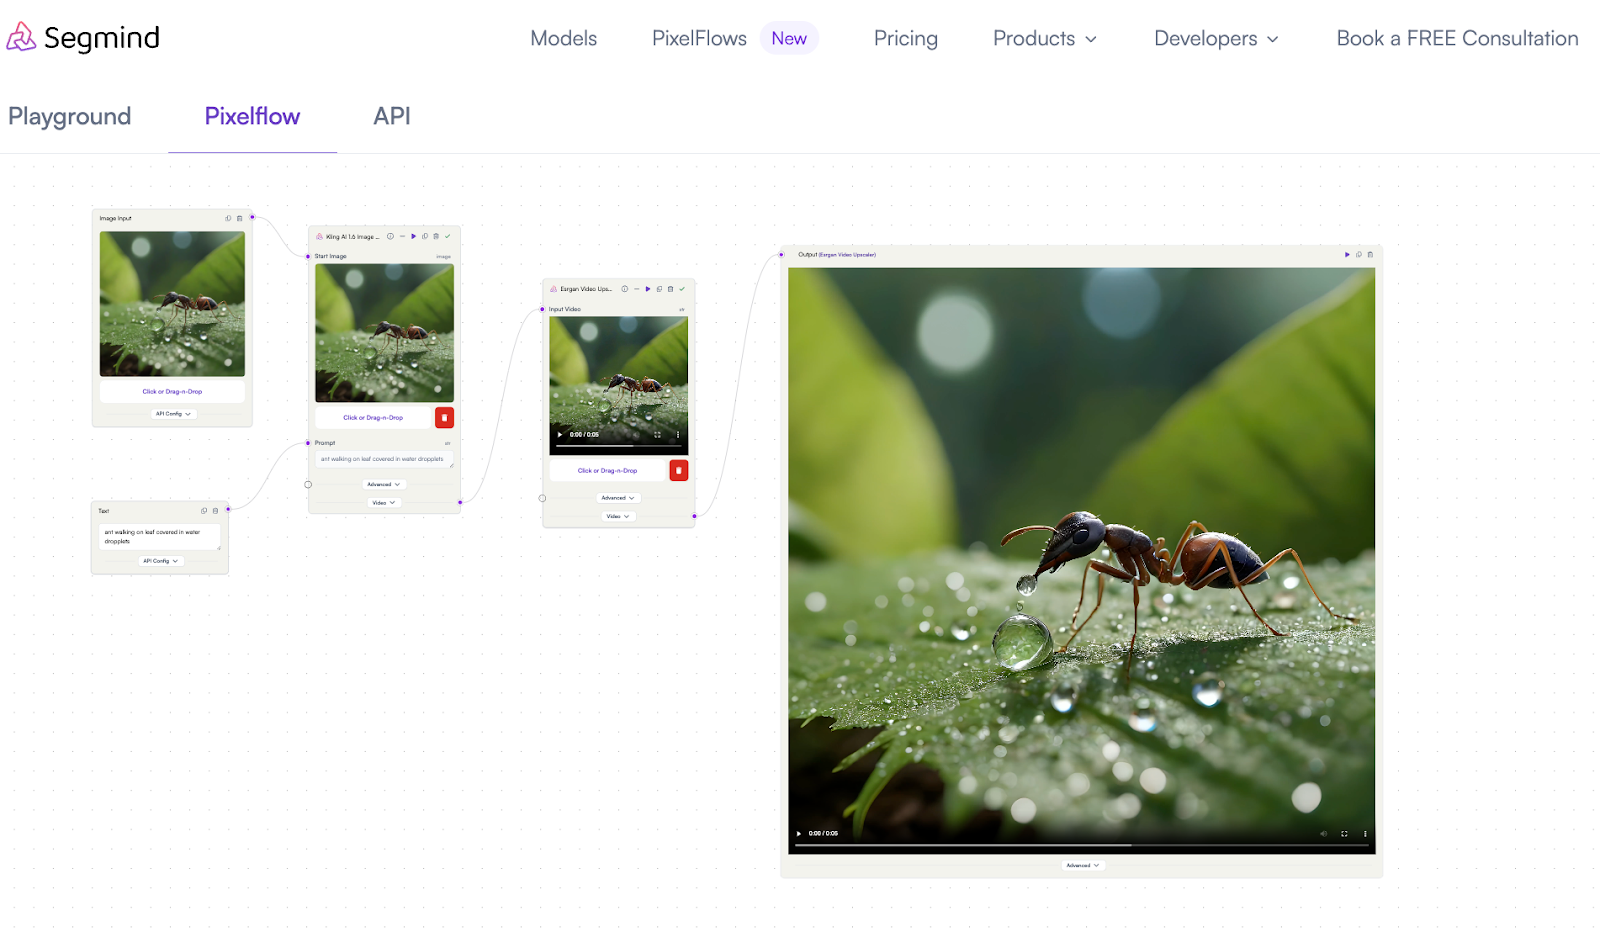
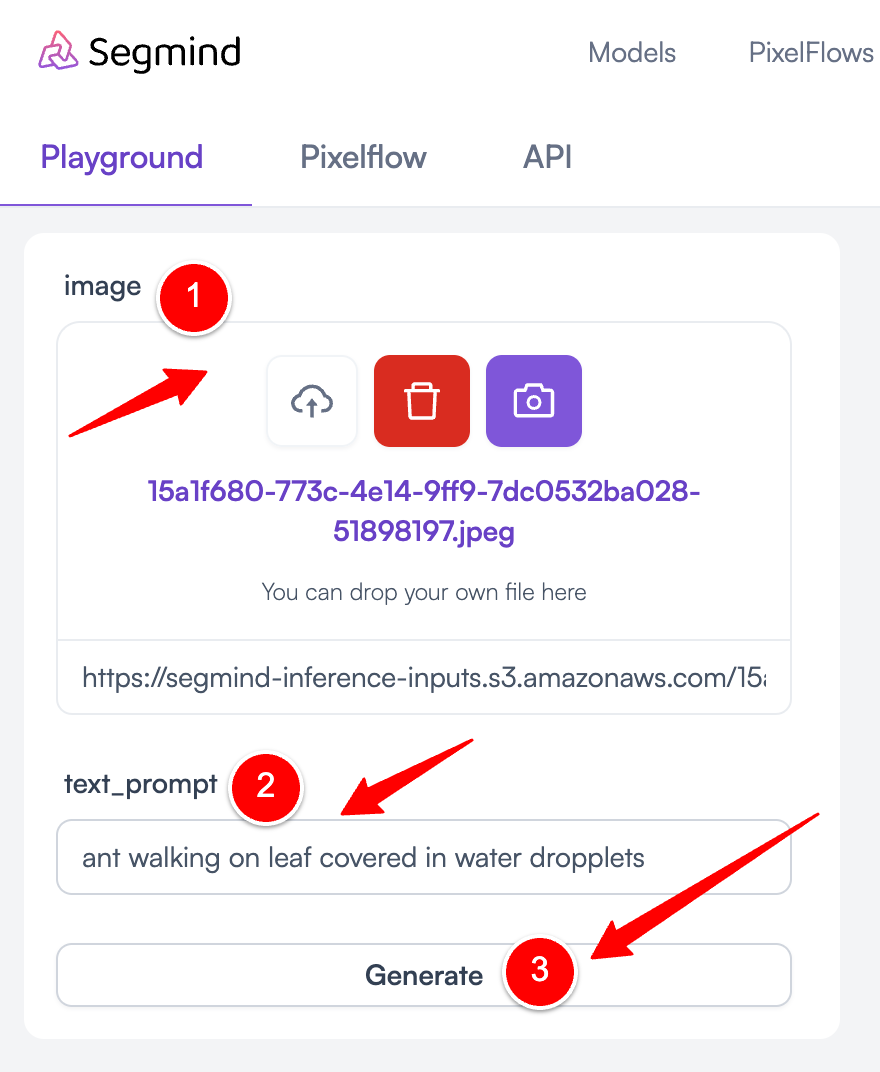
- Open the PixelFlow dashboard and select the Kling 1.6 4K Upscaler template
- Upload your reference image and write the text prompt.
- Click "Generate" and the workflow will start in which first the Kling AI video will be generated based on your reference images and prompt, and then it will be automatically upscaled giving you the final 4K video output.
The upscaling process preserves the unique style of Kling 1.6 while adding natural detail. The template's settings are specifically tuned to handle Kling's output characteristics. This means your upscaled videos keep their original artistic look while gaining the clarity and sharpness of 4K resolution.
Now that you know about how to upscale, let’s explore the benefits of upscaling videos into 4K quality.
Benefits Of Using PixelFlow for 4K Upscaling
PixelFlow makes 4K upscaling faster and simpler. You can process videos in minutes instead of hours, with settings that are easy to adjust and understand. The visual workflow shows you exactly what's happening at each step.
- Quick Processing: Videos upscale multiple times faster than standard methods. A 1-minute clip takes about 2 minutes to process in 4K.
- Smart Defaults: Pre-configured settings work well for most videos. You don't need to understand complex technical details.
- Quality Control: Built-in quality checks prevent common issues like artifacts and blurring.
- Resource Efficient: Uses less memory than other upscaling tools. Your computer stays responsive while processing.
- API Integration: Add 4K upscaling to your own apps and workflows with simple API calls.
The platform remembers your preferred settings. This means you can upscale multiple videos with the same high-quality results every time. You'll get consistent 4K output across all your Kling 1.6 videos.
With the benefits of upscaling in mind, let’s take a look at some best practices and tips to get better results.
Best Practices And Tips For Upscaling Kling 1.6 Videos
Small adjustments make a big difference in your final 4K video quality. Following these effective methods helps you get the best results from your Kling 1.6 videos.
- Start Clean: Use the original Kling 1.6 output file. Avoid processing videos that have been compressed or modified.
- Check Your Source: Set Kling 1.6 to output at least 1080p resolution. Higher starting quality means better 4K results.
- Watch the Bitrate: Use 40-50 Mbps for most videos. Go higher for complex scenes with lots of movement.
- Monitor Sharpness: Keep sharpness between 0.8 and 1.2. Going higher can create artificial-looking edges.
- Balance Noise: Set noise reduction to 0.5 for a natural look. Adjust up for grainy videos or down for cleaner sources.
- Test Short Clips: Process a 10-second segment first to check your settings work well.
- Verify on Devices: Check your upscaled video on different screens to ensure consistent quality.
Final Thoughts
Upscaling Kling 1.6 videos to 4K doesn't have to be complex or time-consuming. The right settings and workflow make a big difference in your final results. Taking time to check your source video quality and adjust key parameters like bitrate and sharpness leads to crisp, professional 4K output every time.
The process becomes even simpler with tools built specifically for Kling 1.6 videos. PixelFlow's visual interface and preconfigured templates remove the complex setup challenges. You can focus on fine-tuning the details that matter for your specific videos, like preserving textures and ensuring consistent quality across different viewing devices.
Ready to start creating 4K videos with Kling 1.6? Segmind's PixelFlow makes it easy. Get started with the Kling 1.6 4K Upscaler template and start producing high-quality 4K videos.